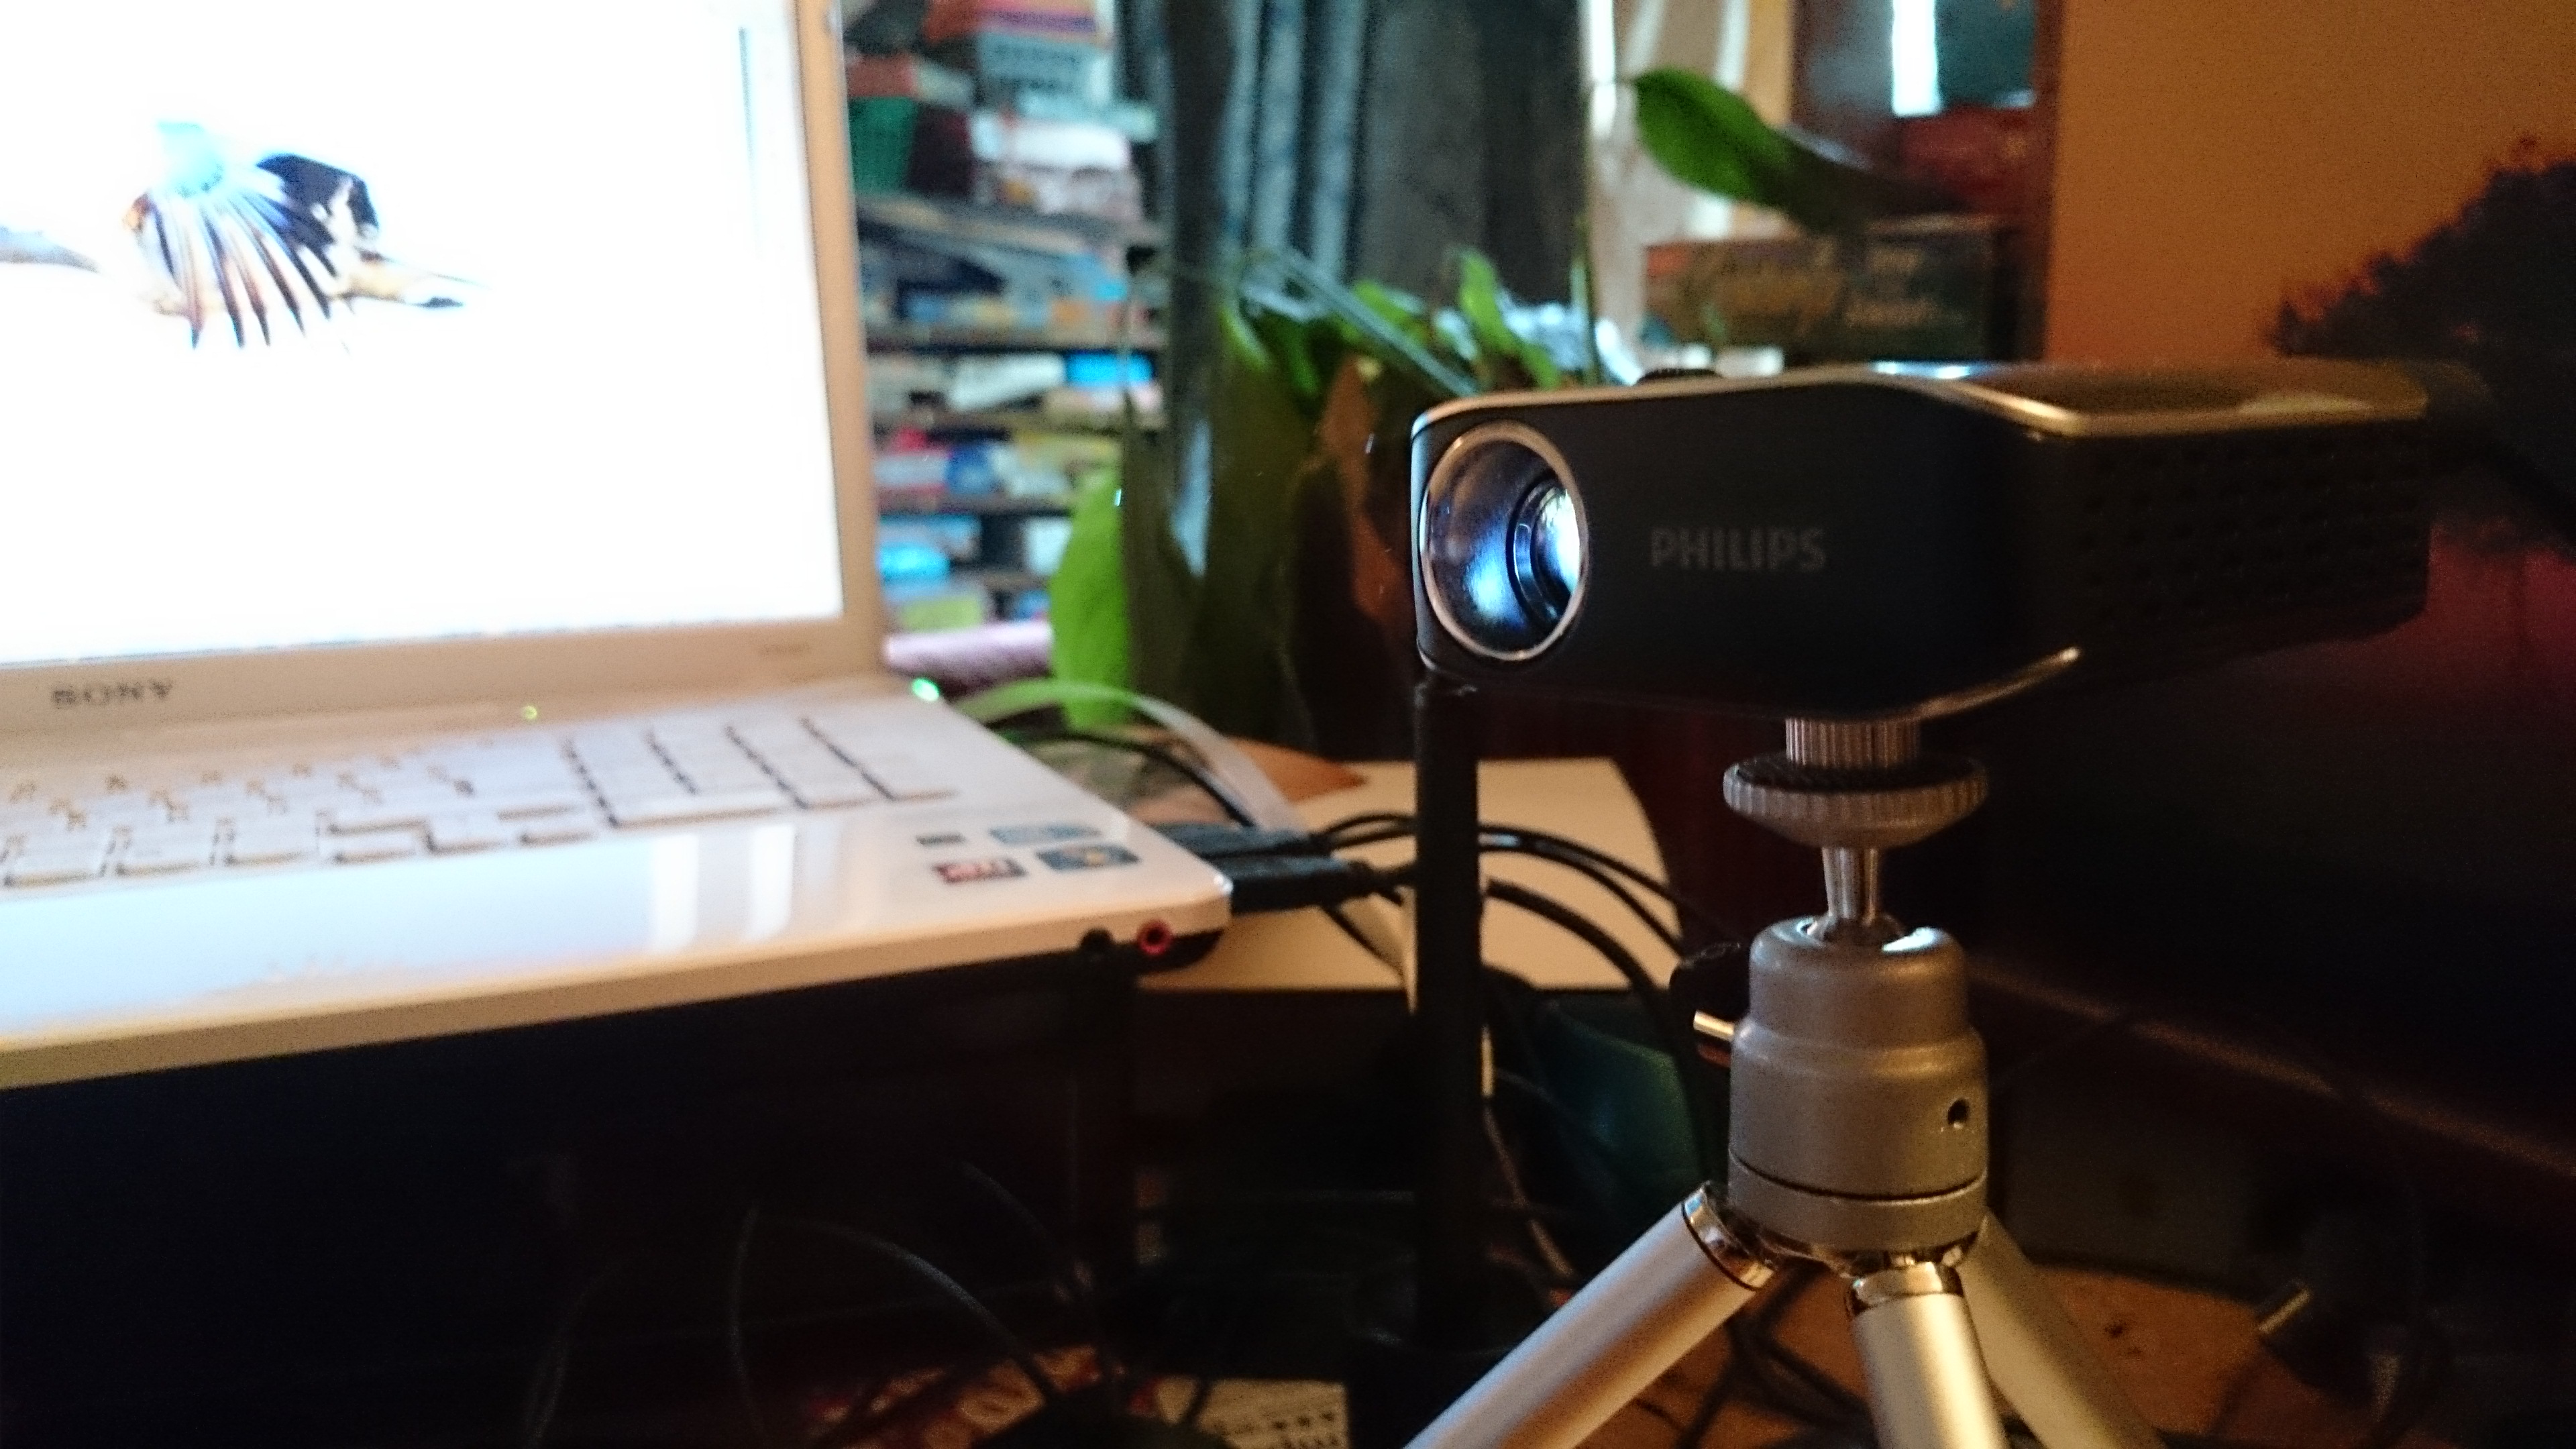
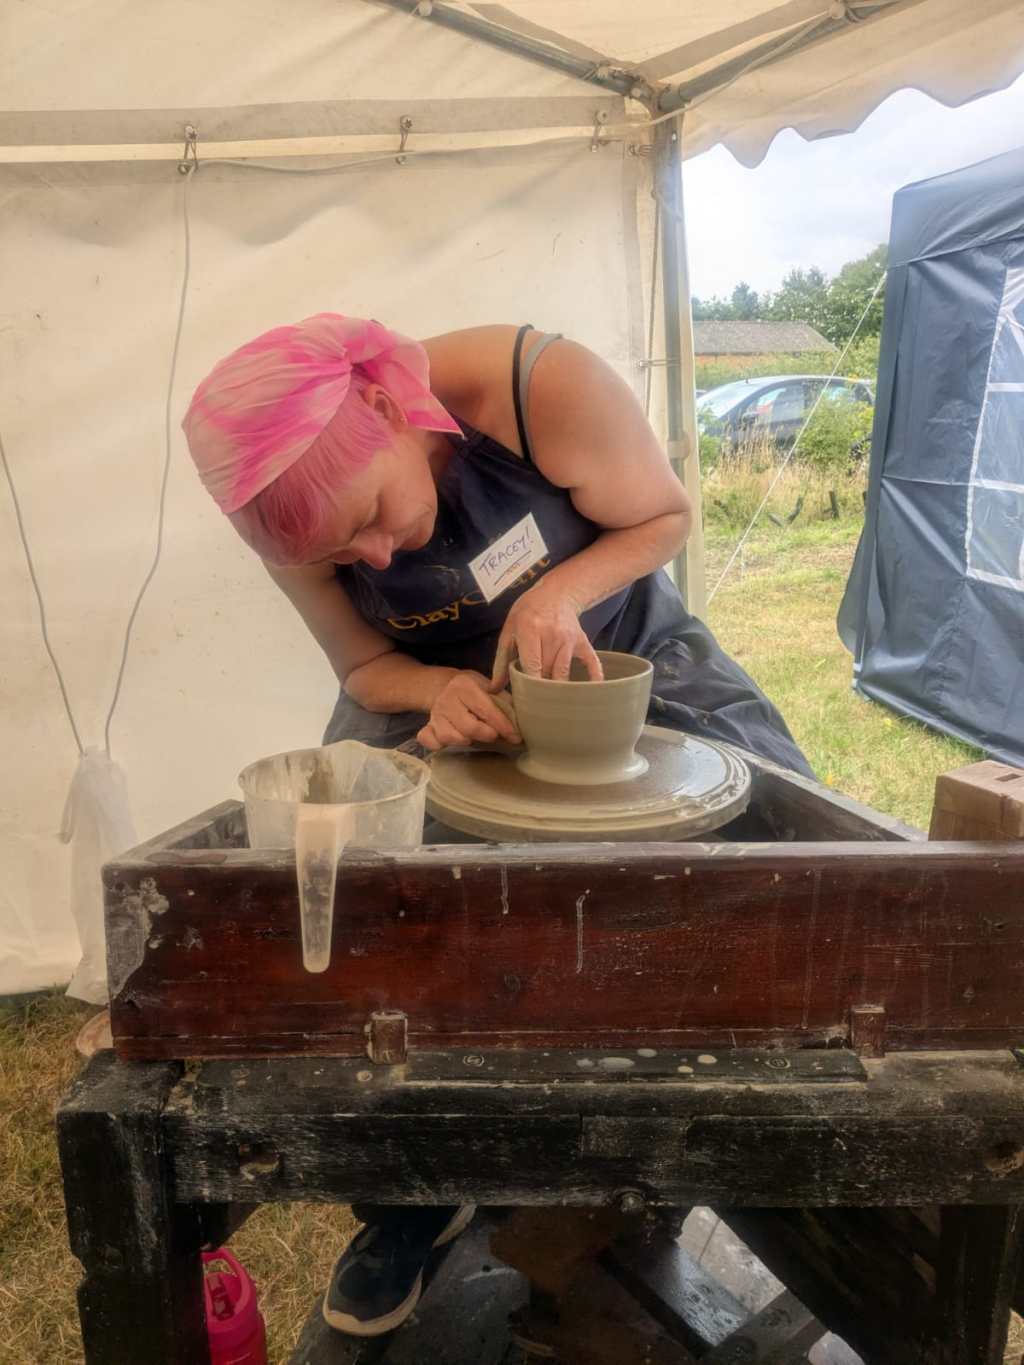
Starting the animation process requires a bit of set-up organisation.
A projector, this is a dinky Phillips pico with 55lumens
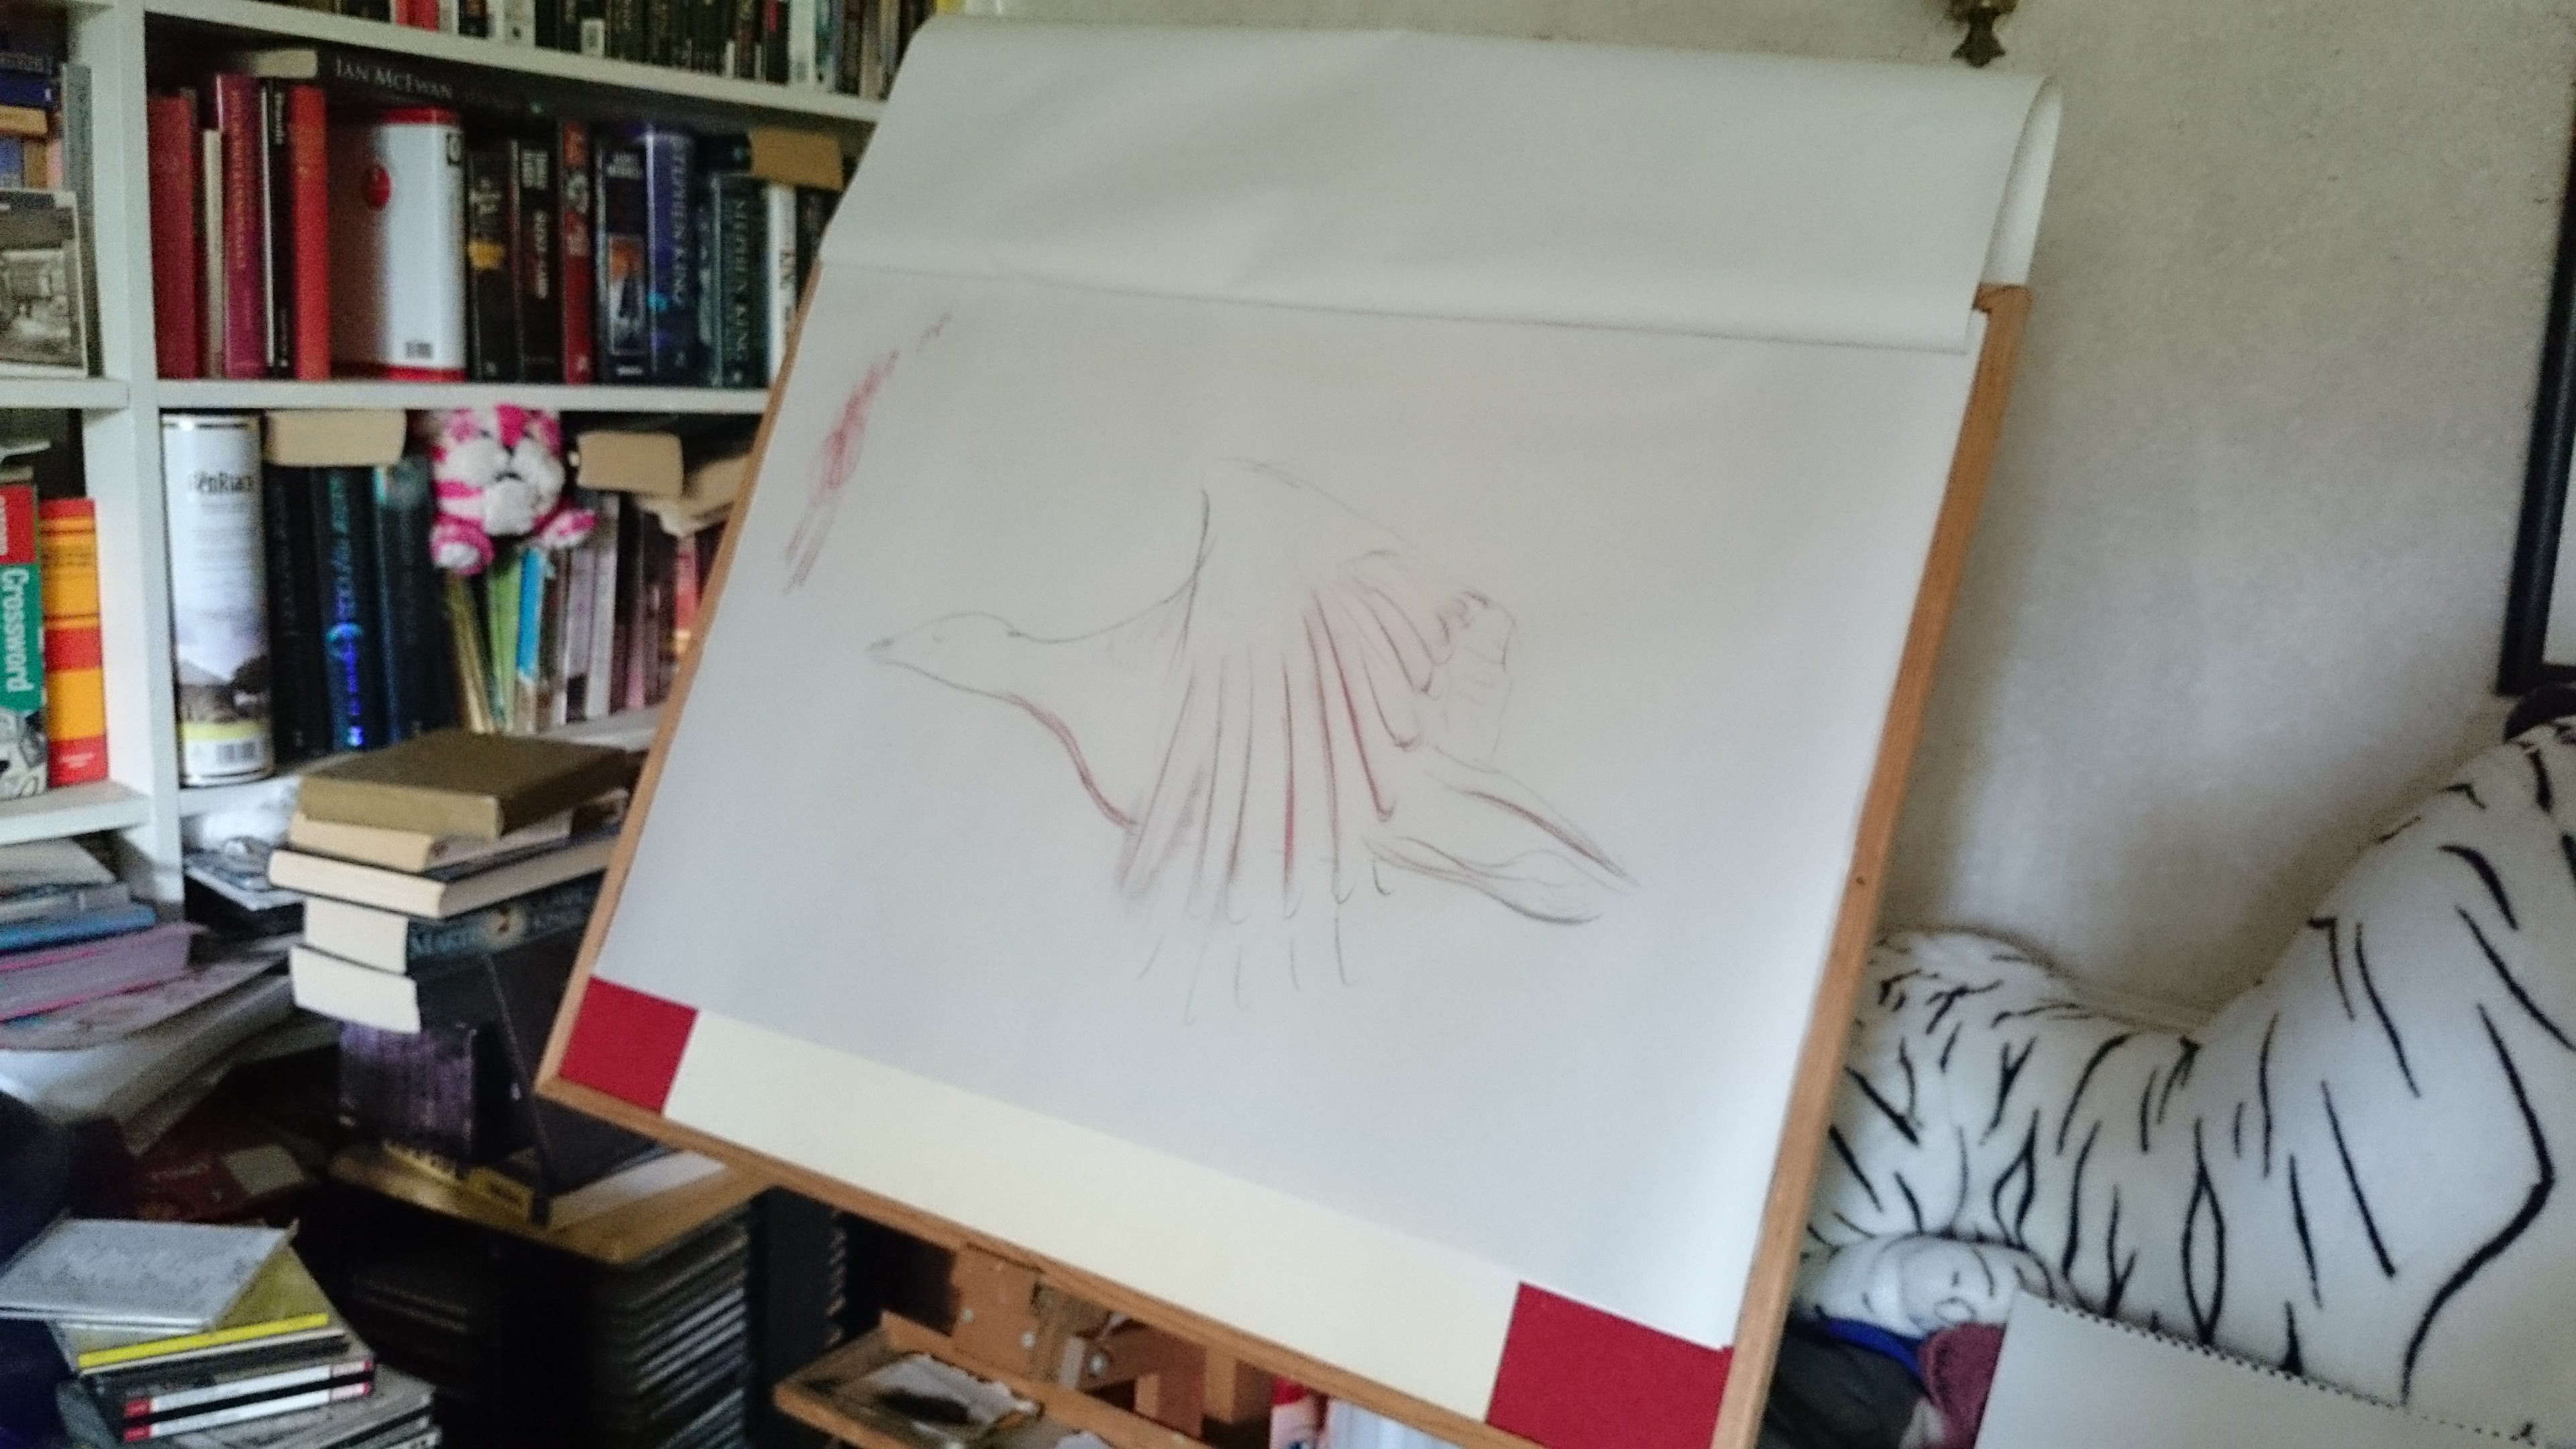
An easel and a large board
Paper, my favourite newsprint
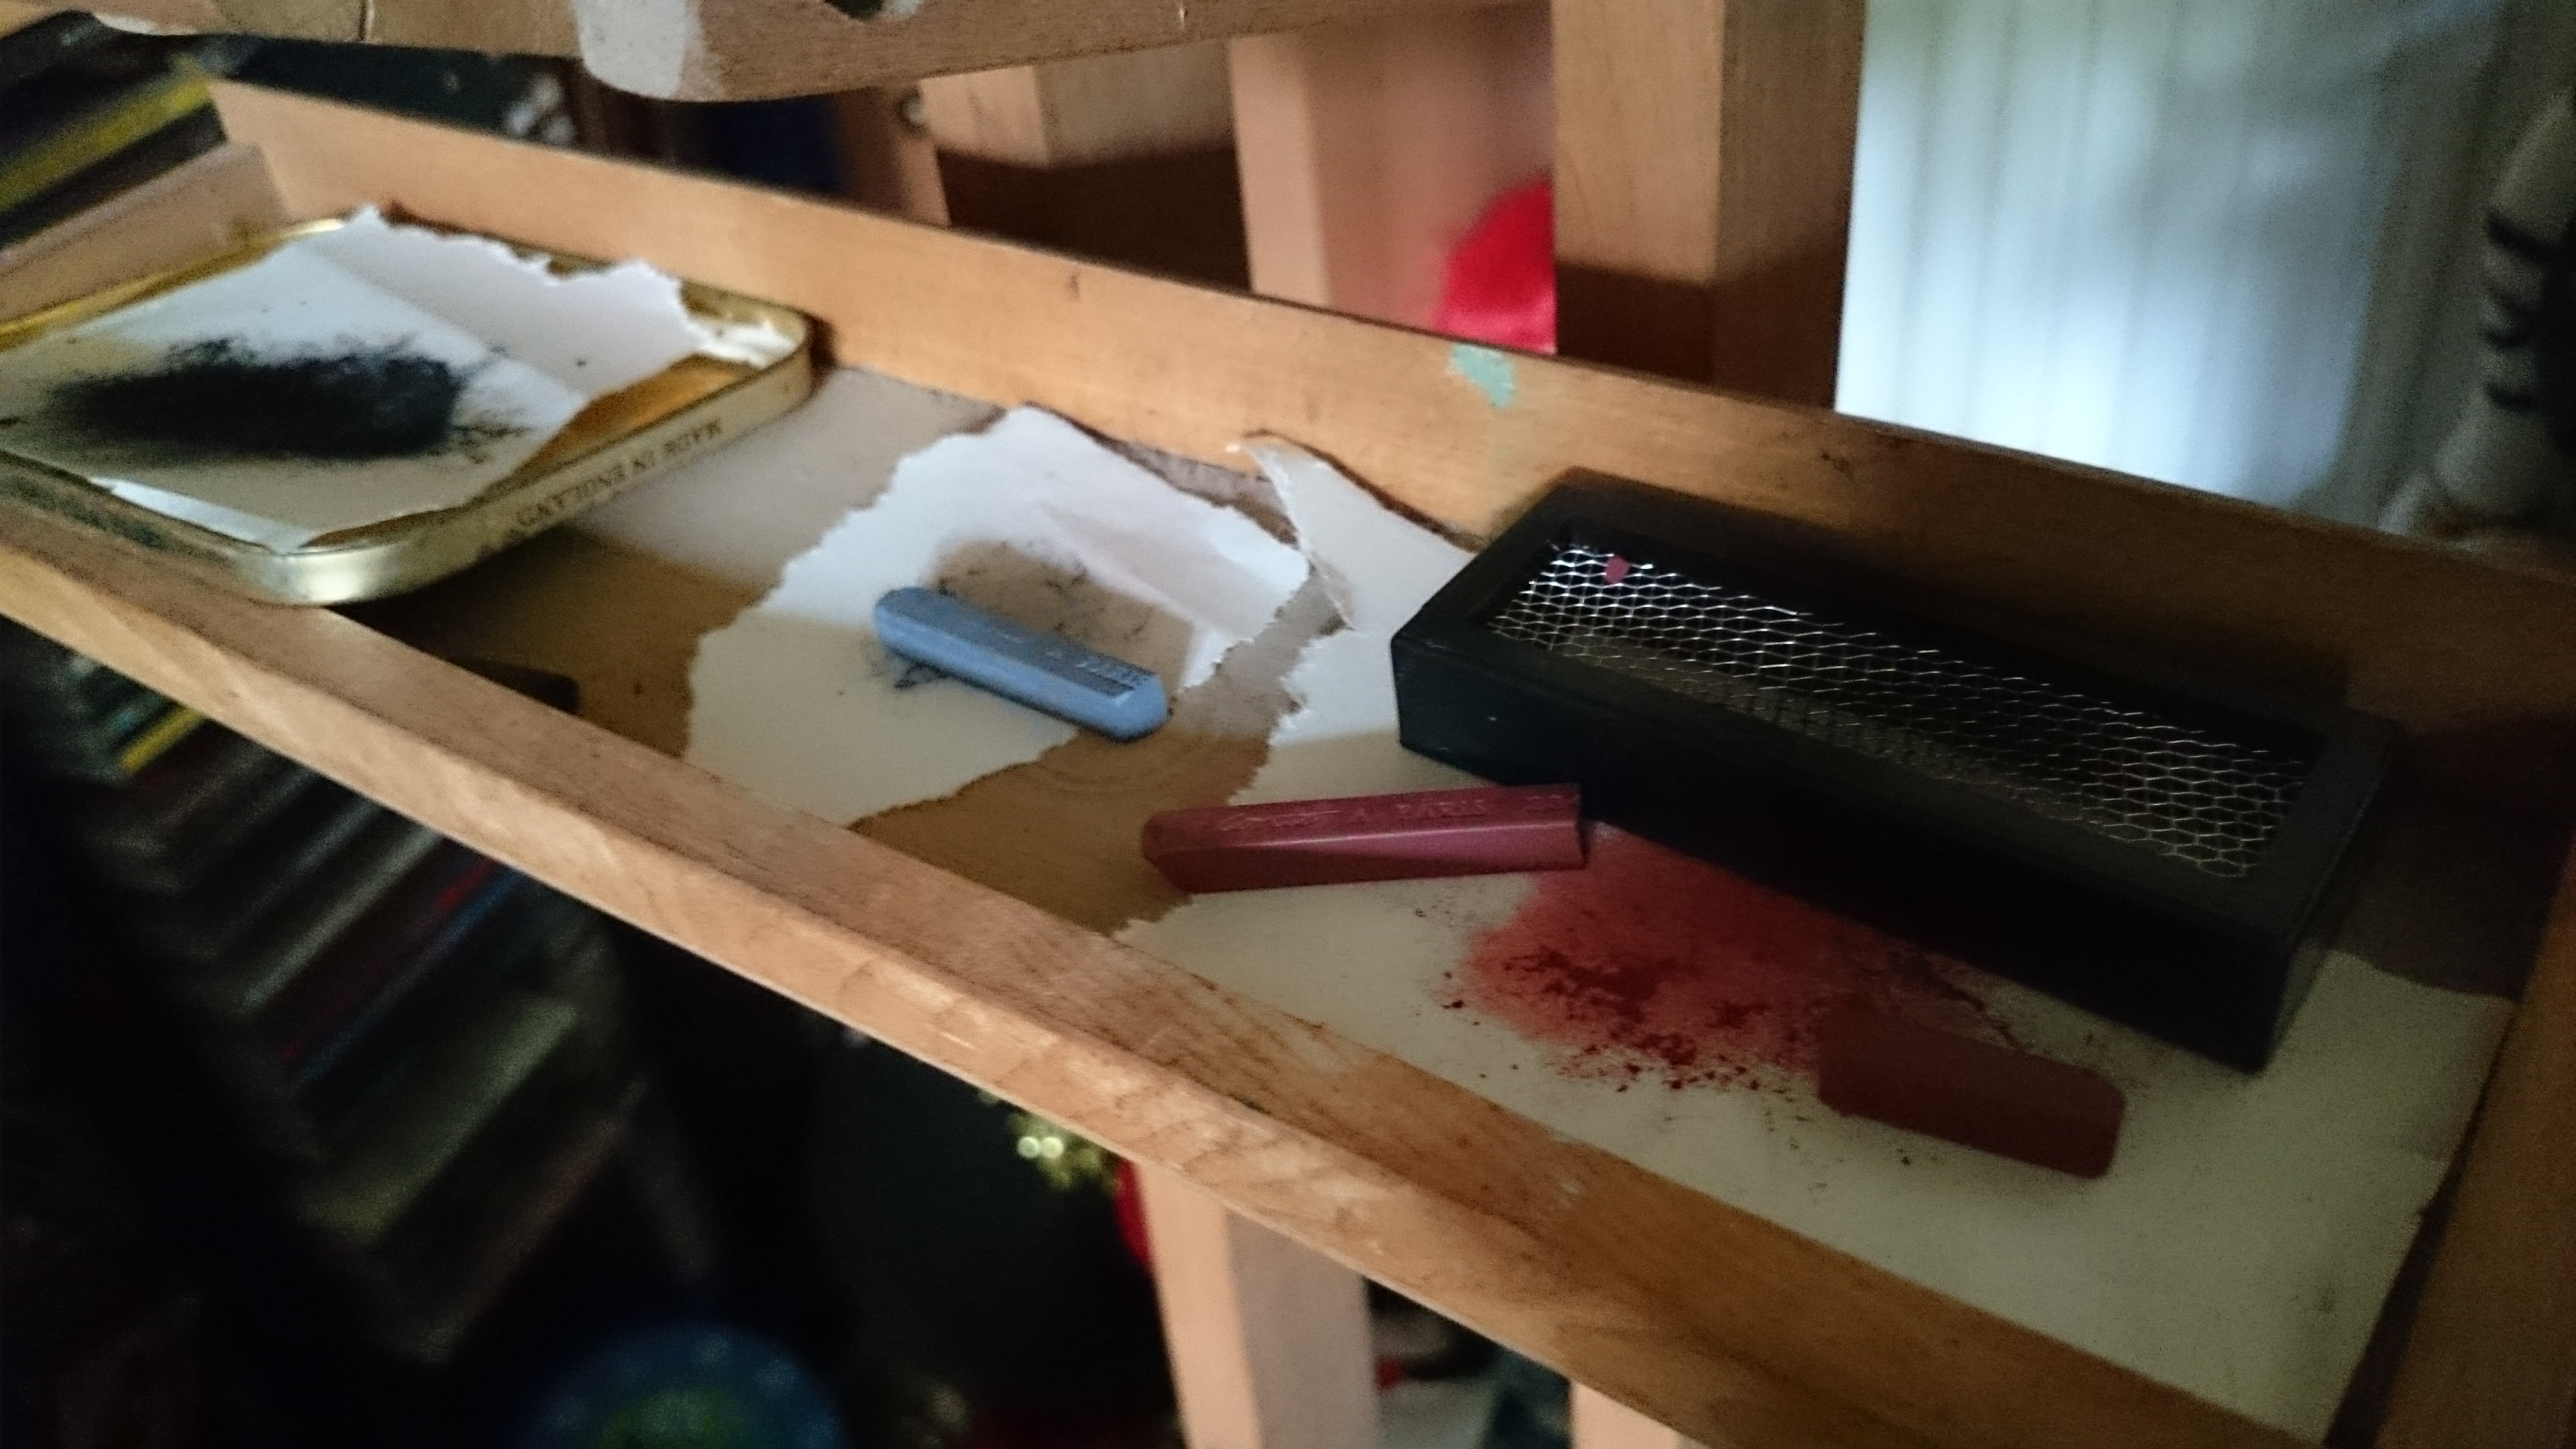
Conte Crayons, just in 3 colours
Sprinkler – to create the coloured powders
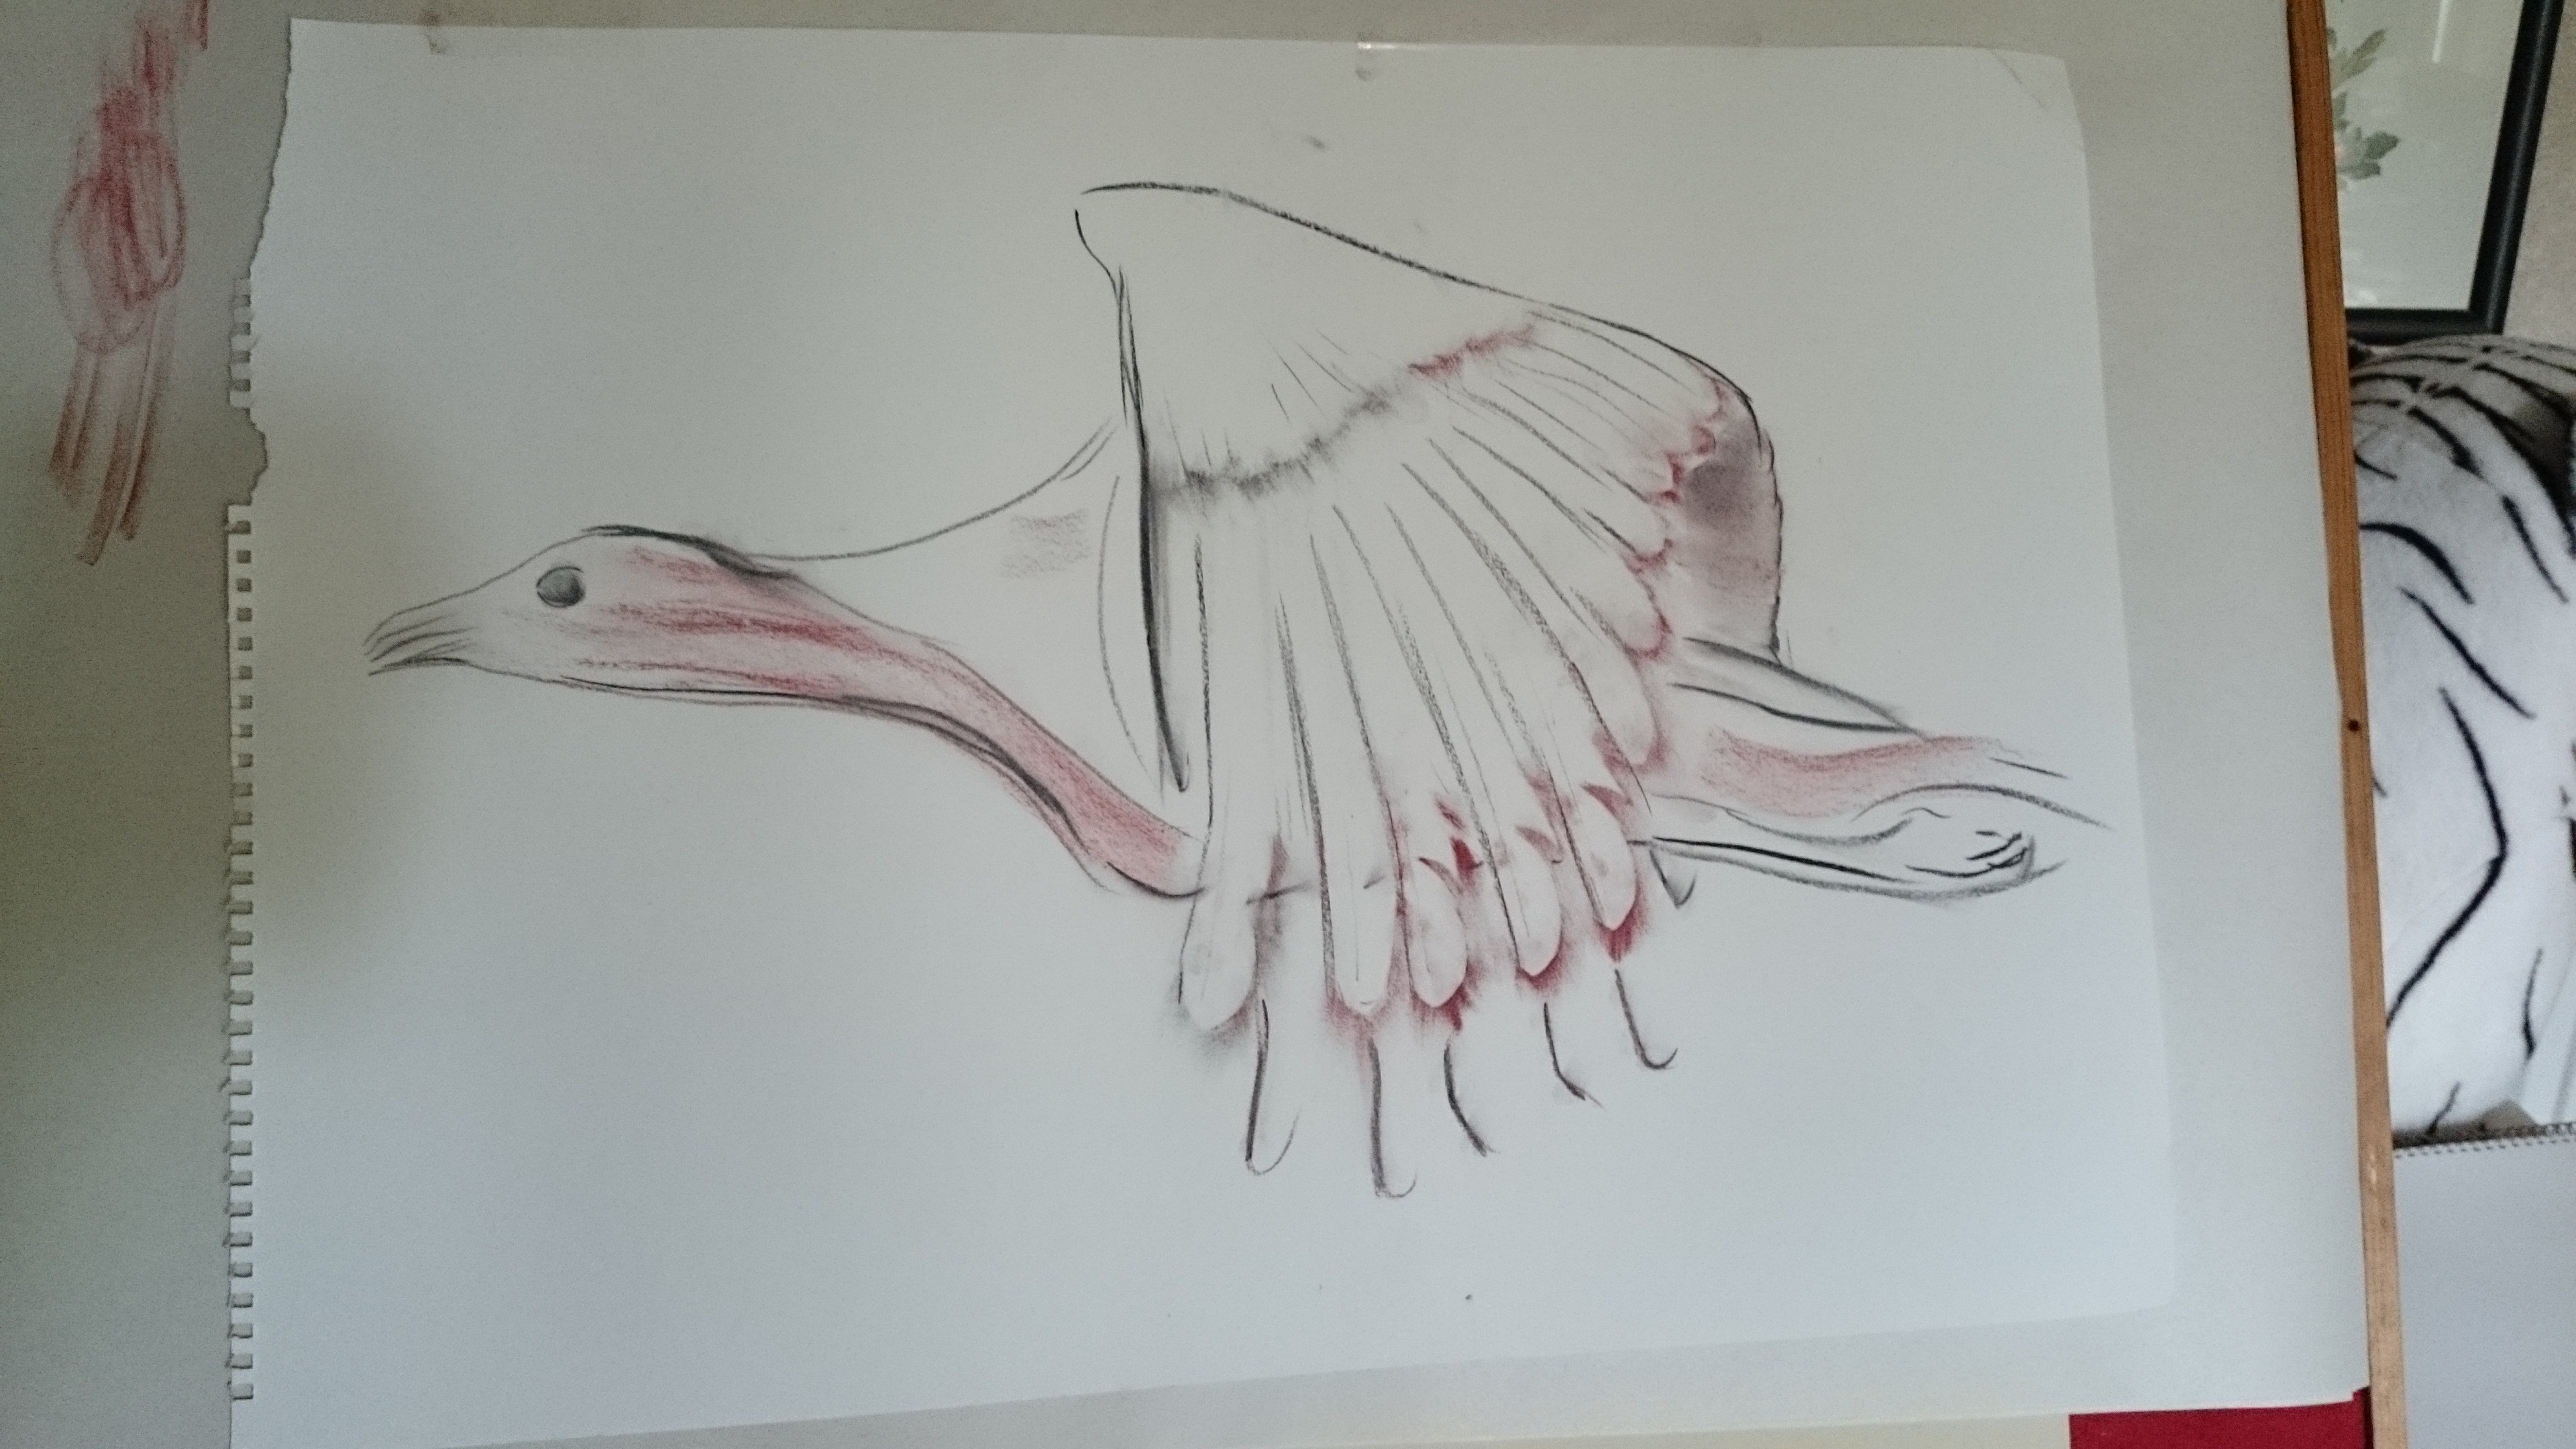
So I set all of these items out next to my computer so I could control what was projected and started on the newsprint paper that I love using for Life drawing… and here was my first problem, the newsprint really doesn’t take the powder I sweep onto the feather and onto the paper to make the relief imprint…

So I needed different paper, the only large paper I had was A2 size cartridge paper, lightweight and fairly smooth..
 So I began working in the feathers and simple lines and another problem rears up, because I am working on an upright easel, the powder tends to ‘drip’ down the page, unlike my primary experiments when I was working over the top of my page.

It doesn’t turn out to bad…
Then I look at another of the flying reference images I have…
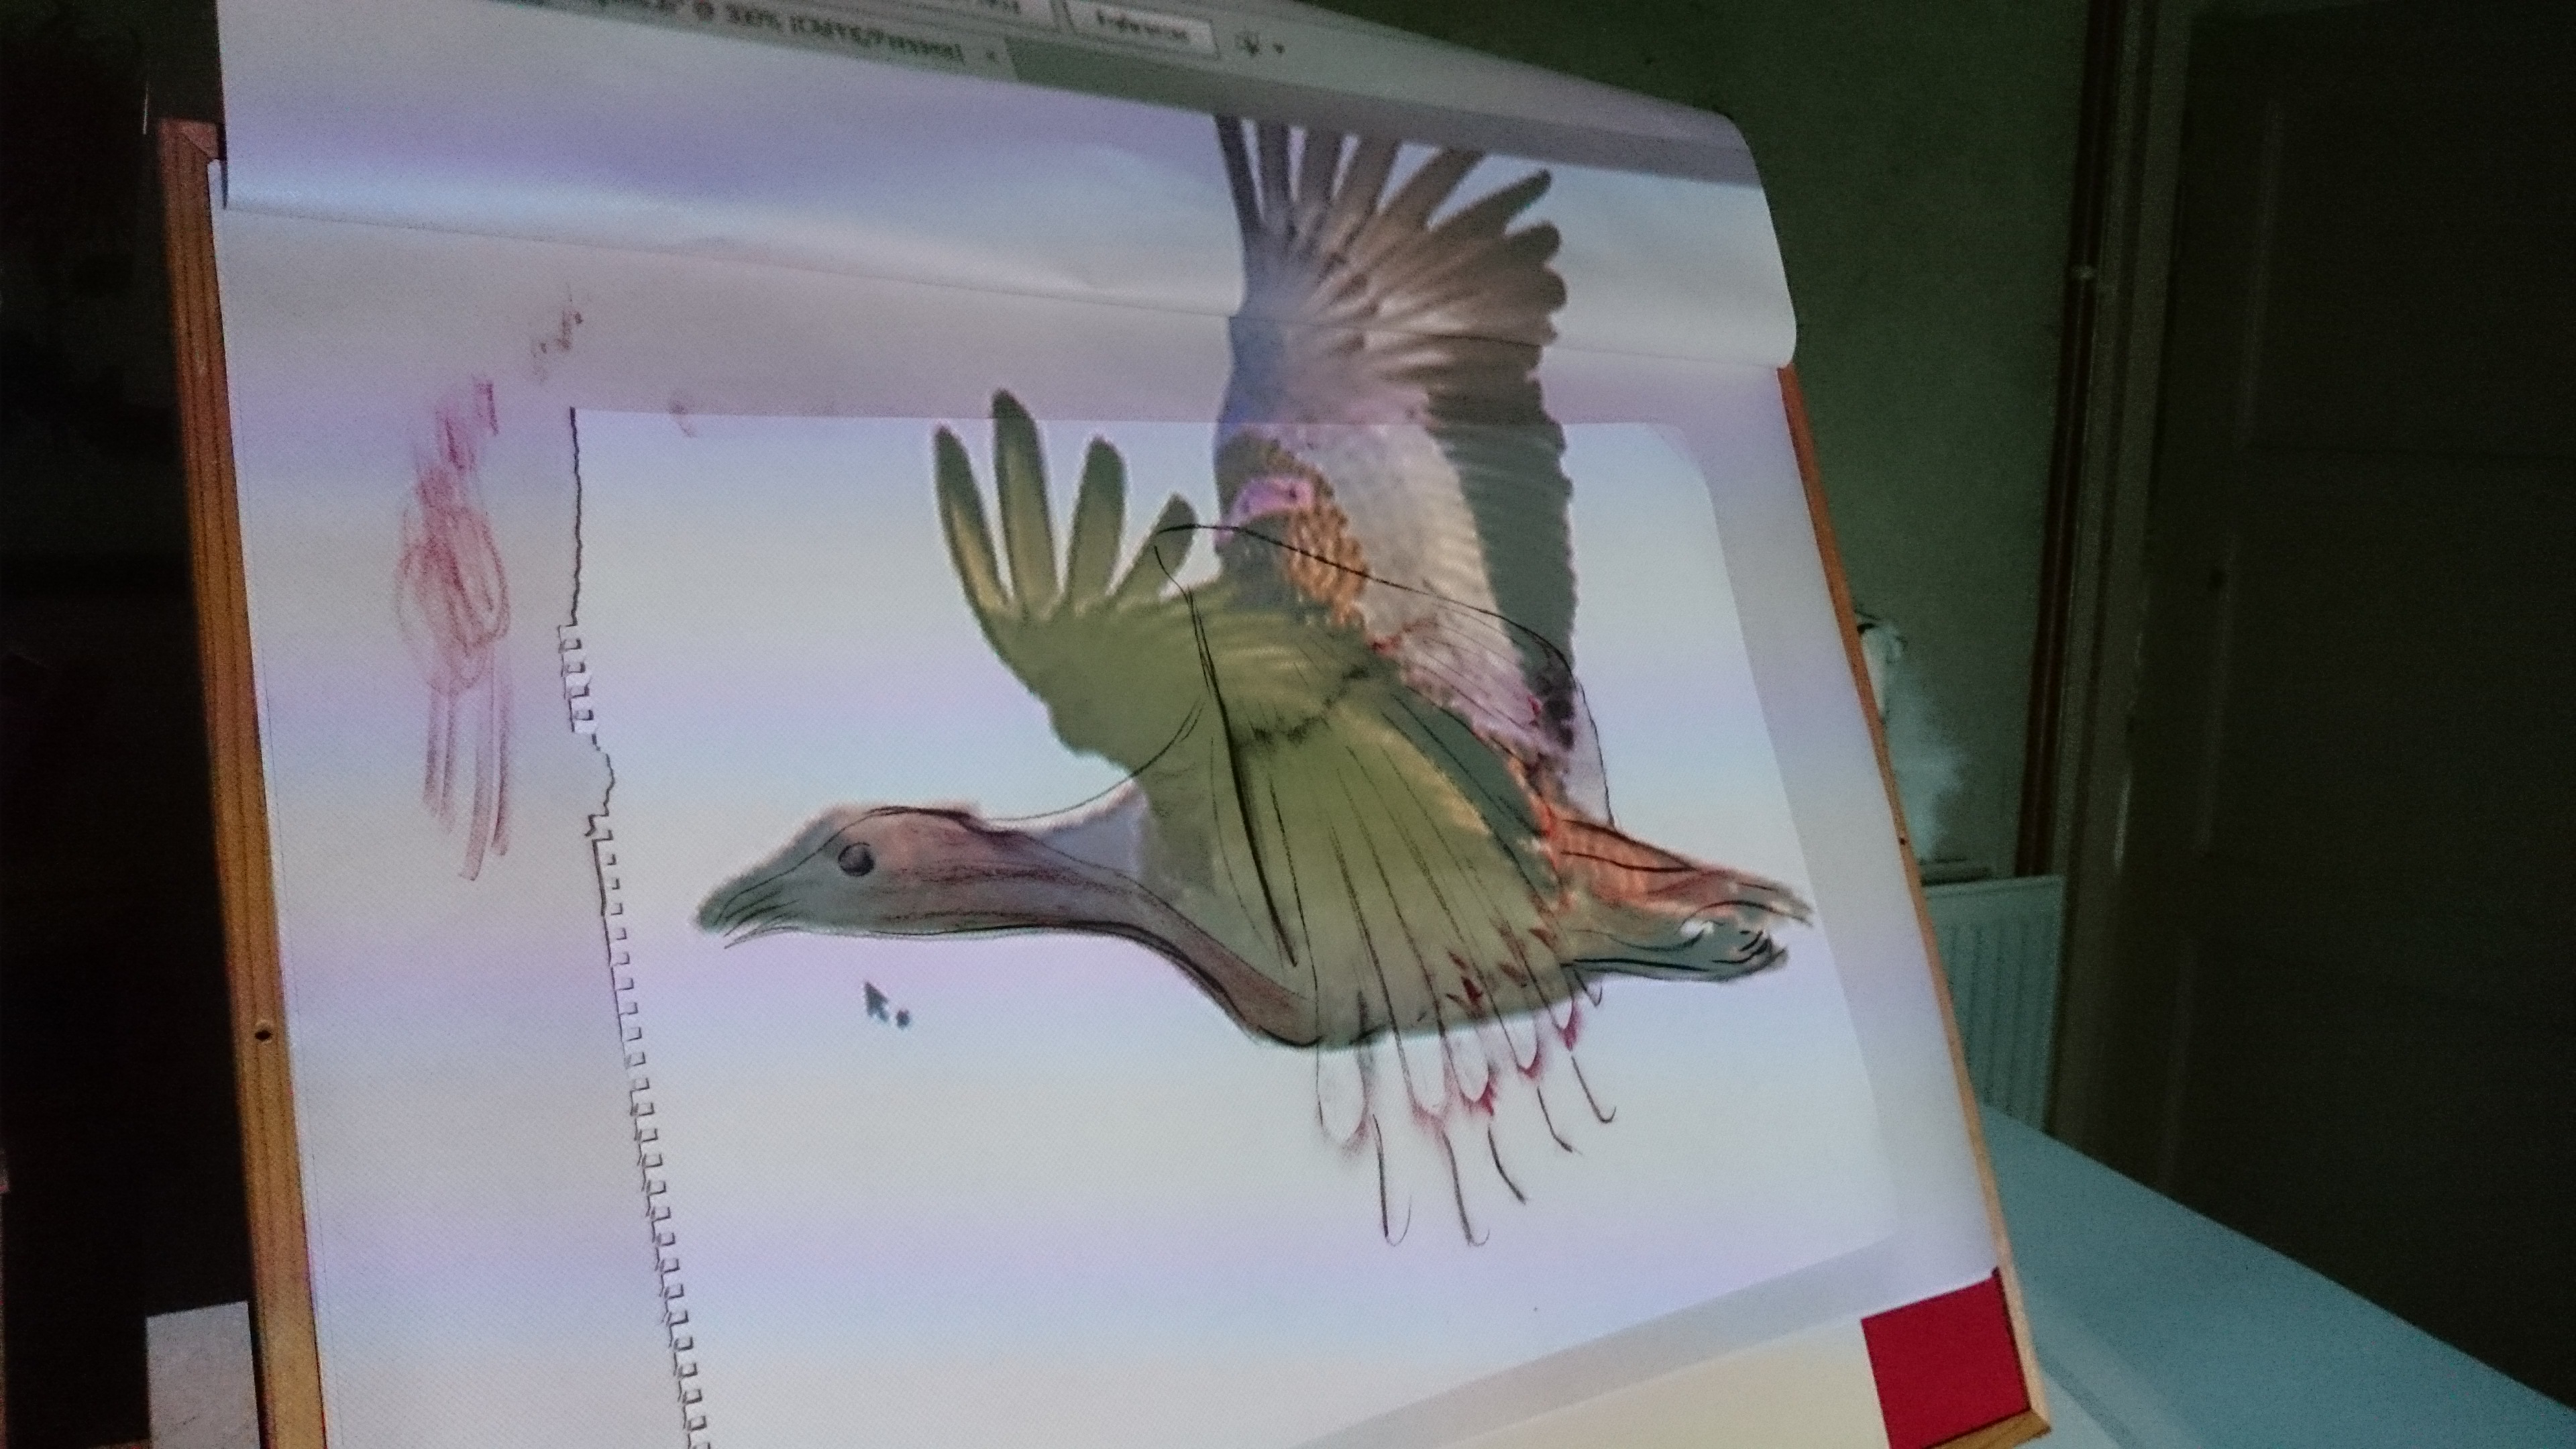
beginners mistake! I will need to re-set out my easel and space so I keep in mind the top and bottom of my projection images.
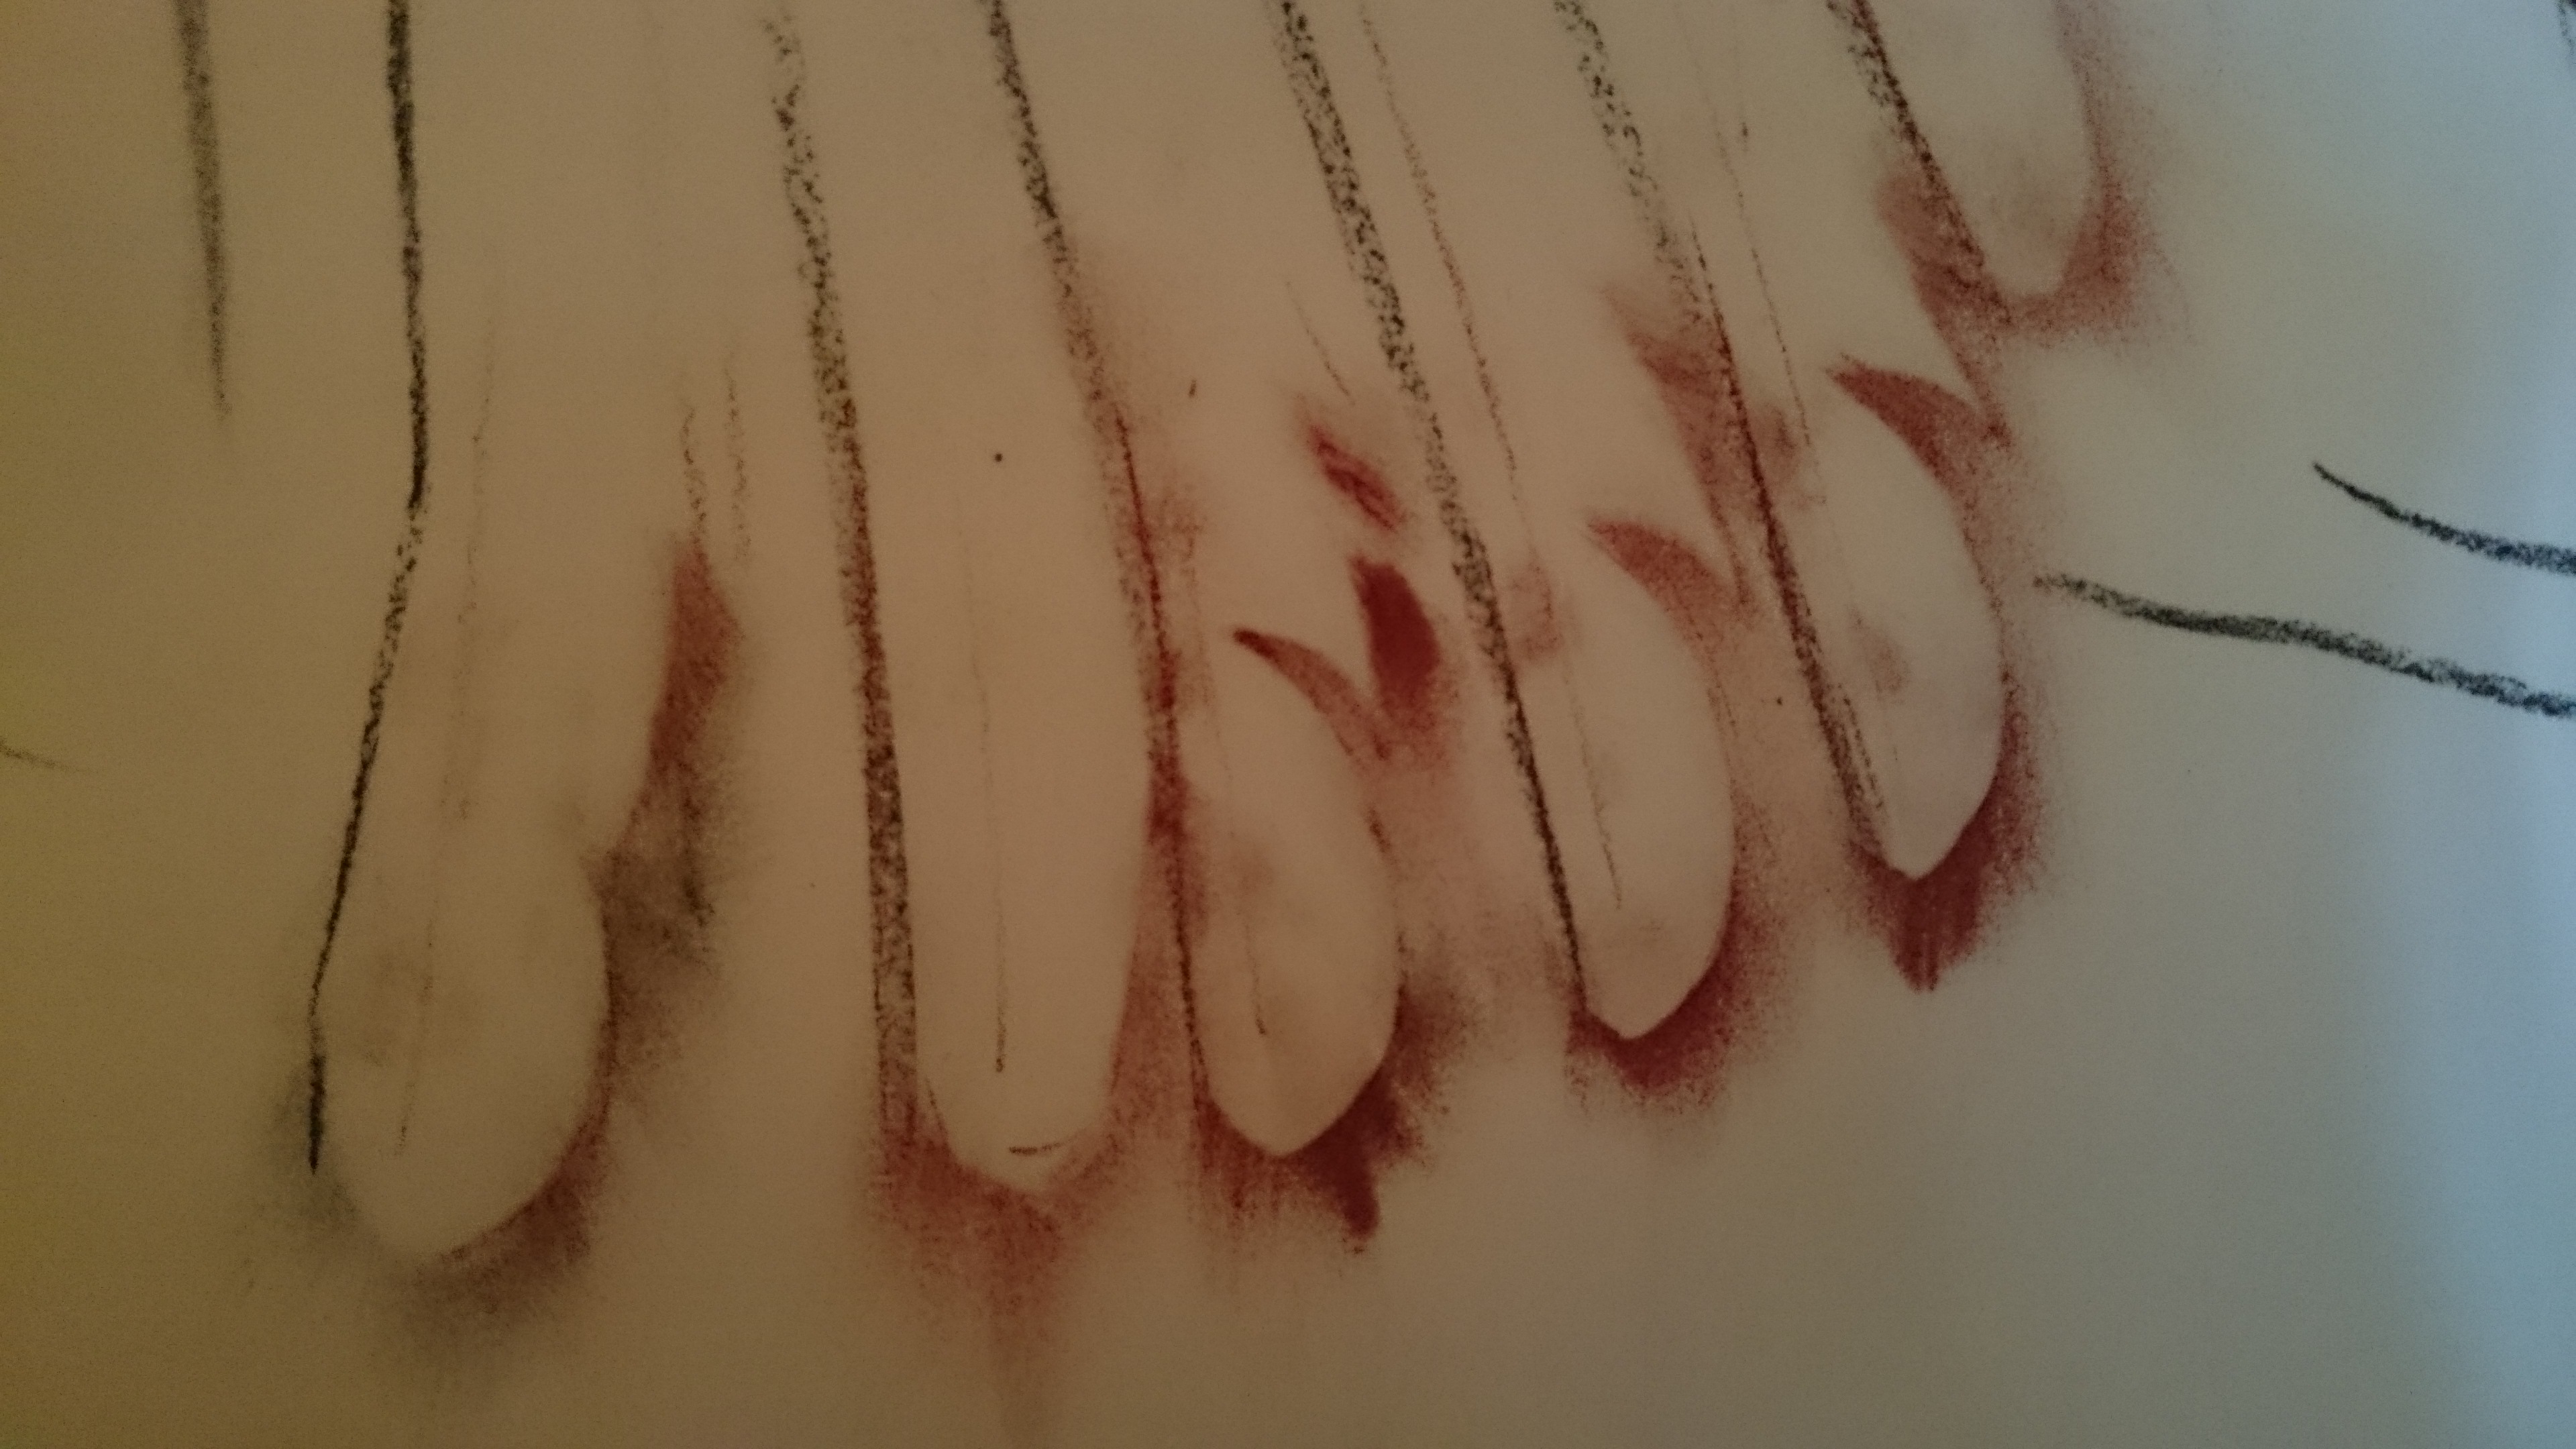
Also will need to test different paper, to find the best feel for the feathers and powder marks I want to get into the frames…
I will be testing watercolour paper, thick cartridge, cream cartridge, craft paper and something called student cartridge later.
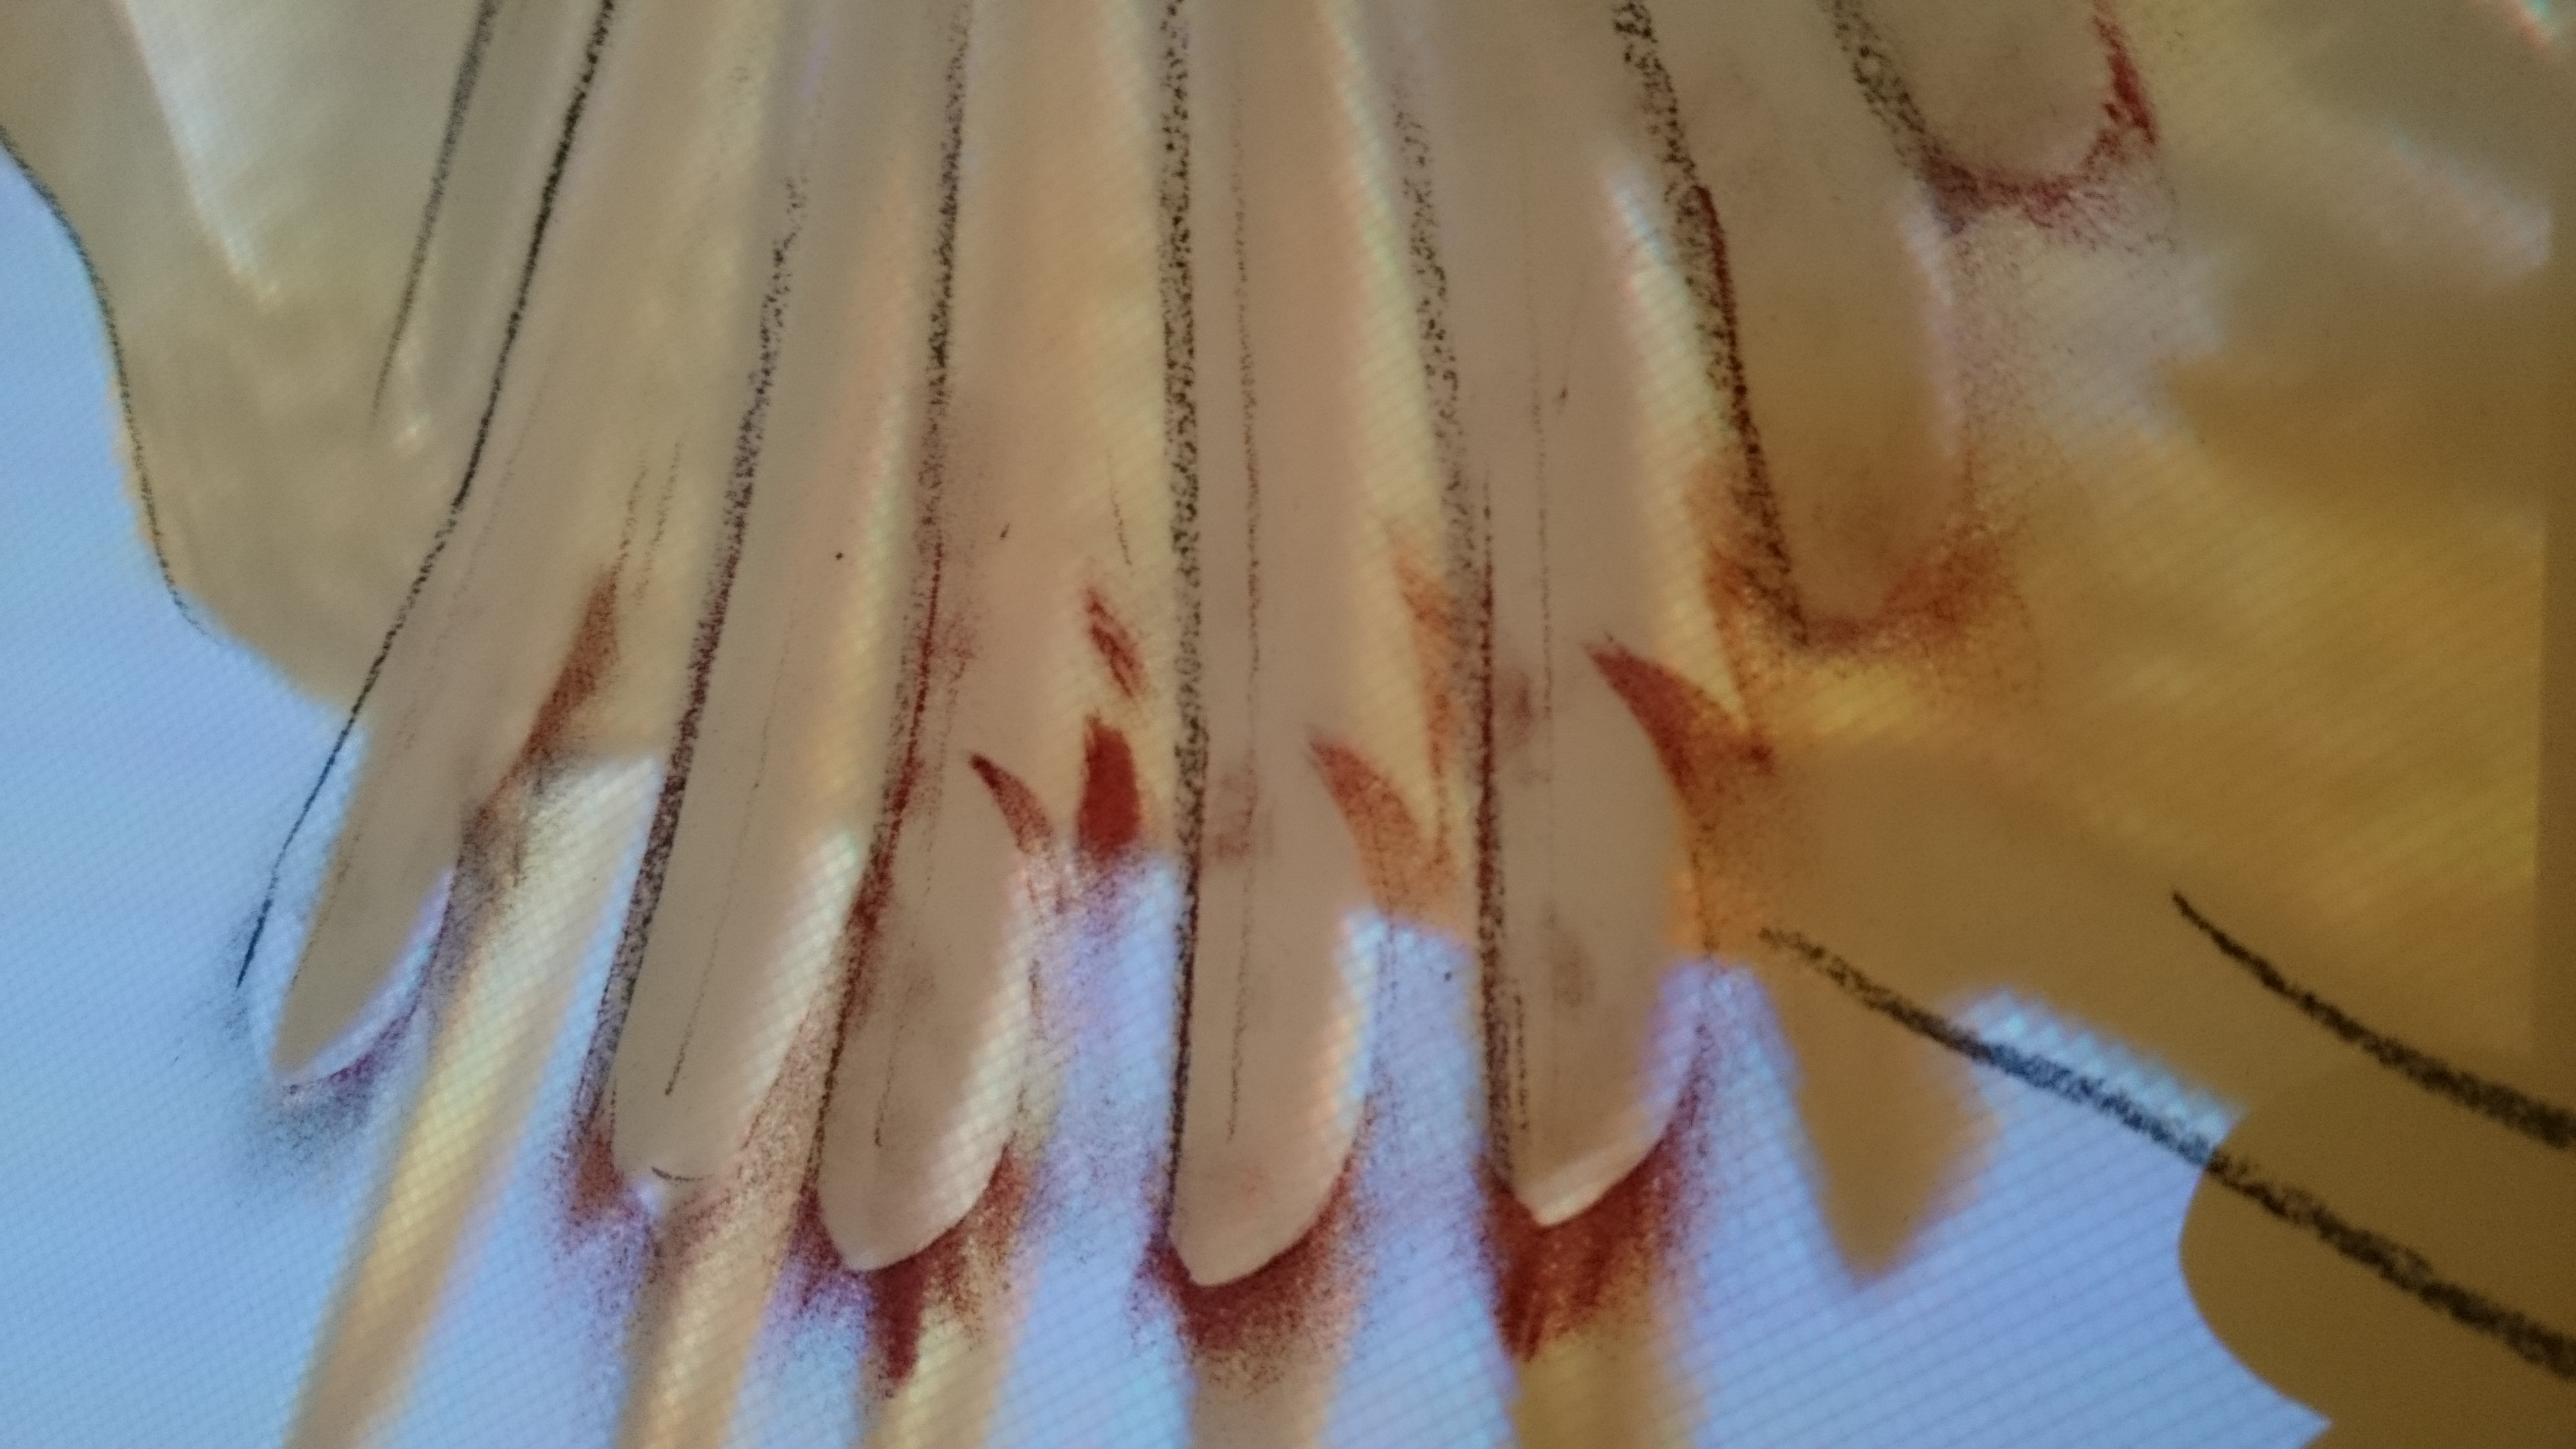
I really like the way it looks with the projection
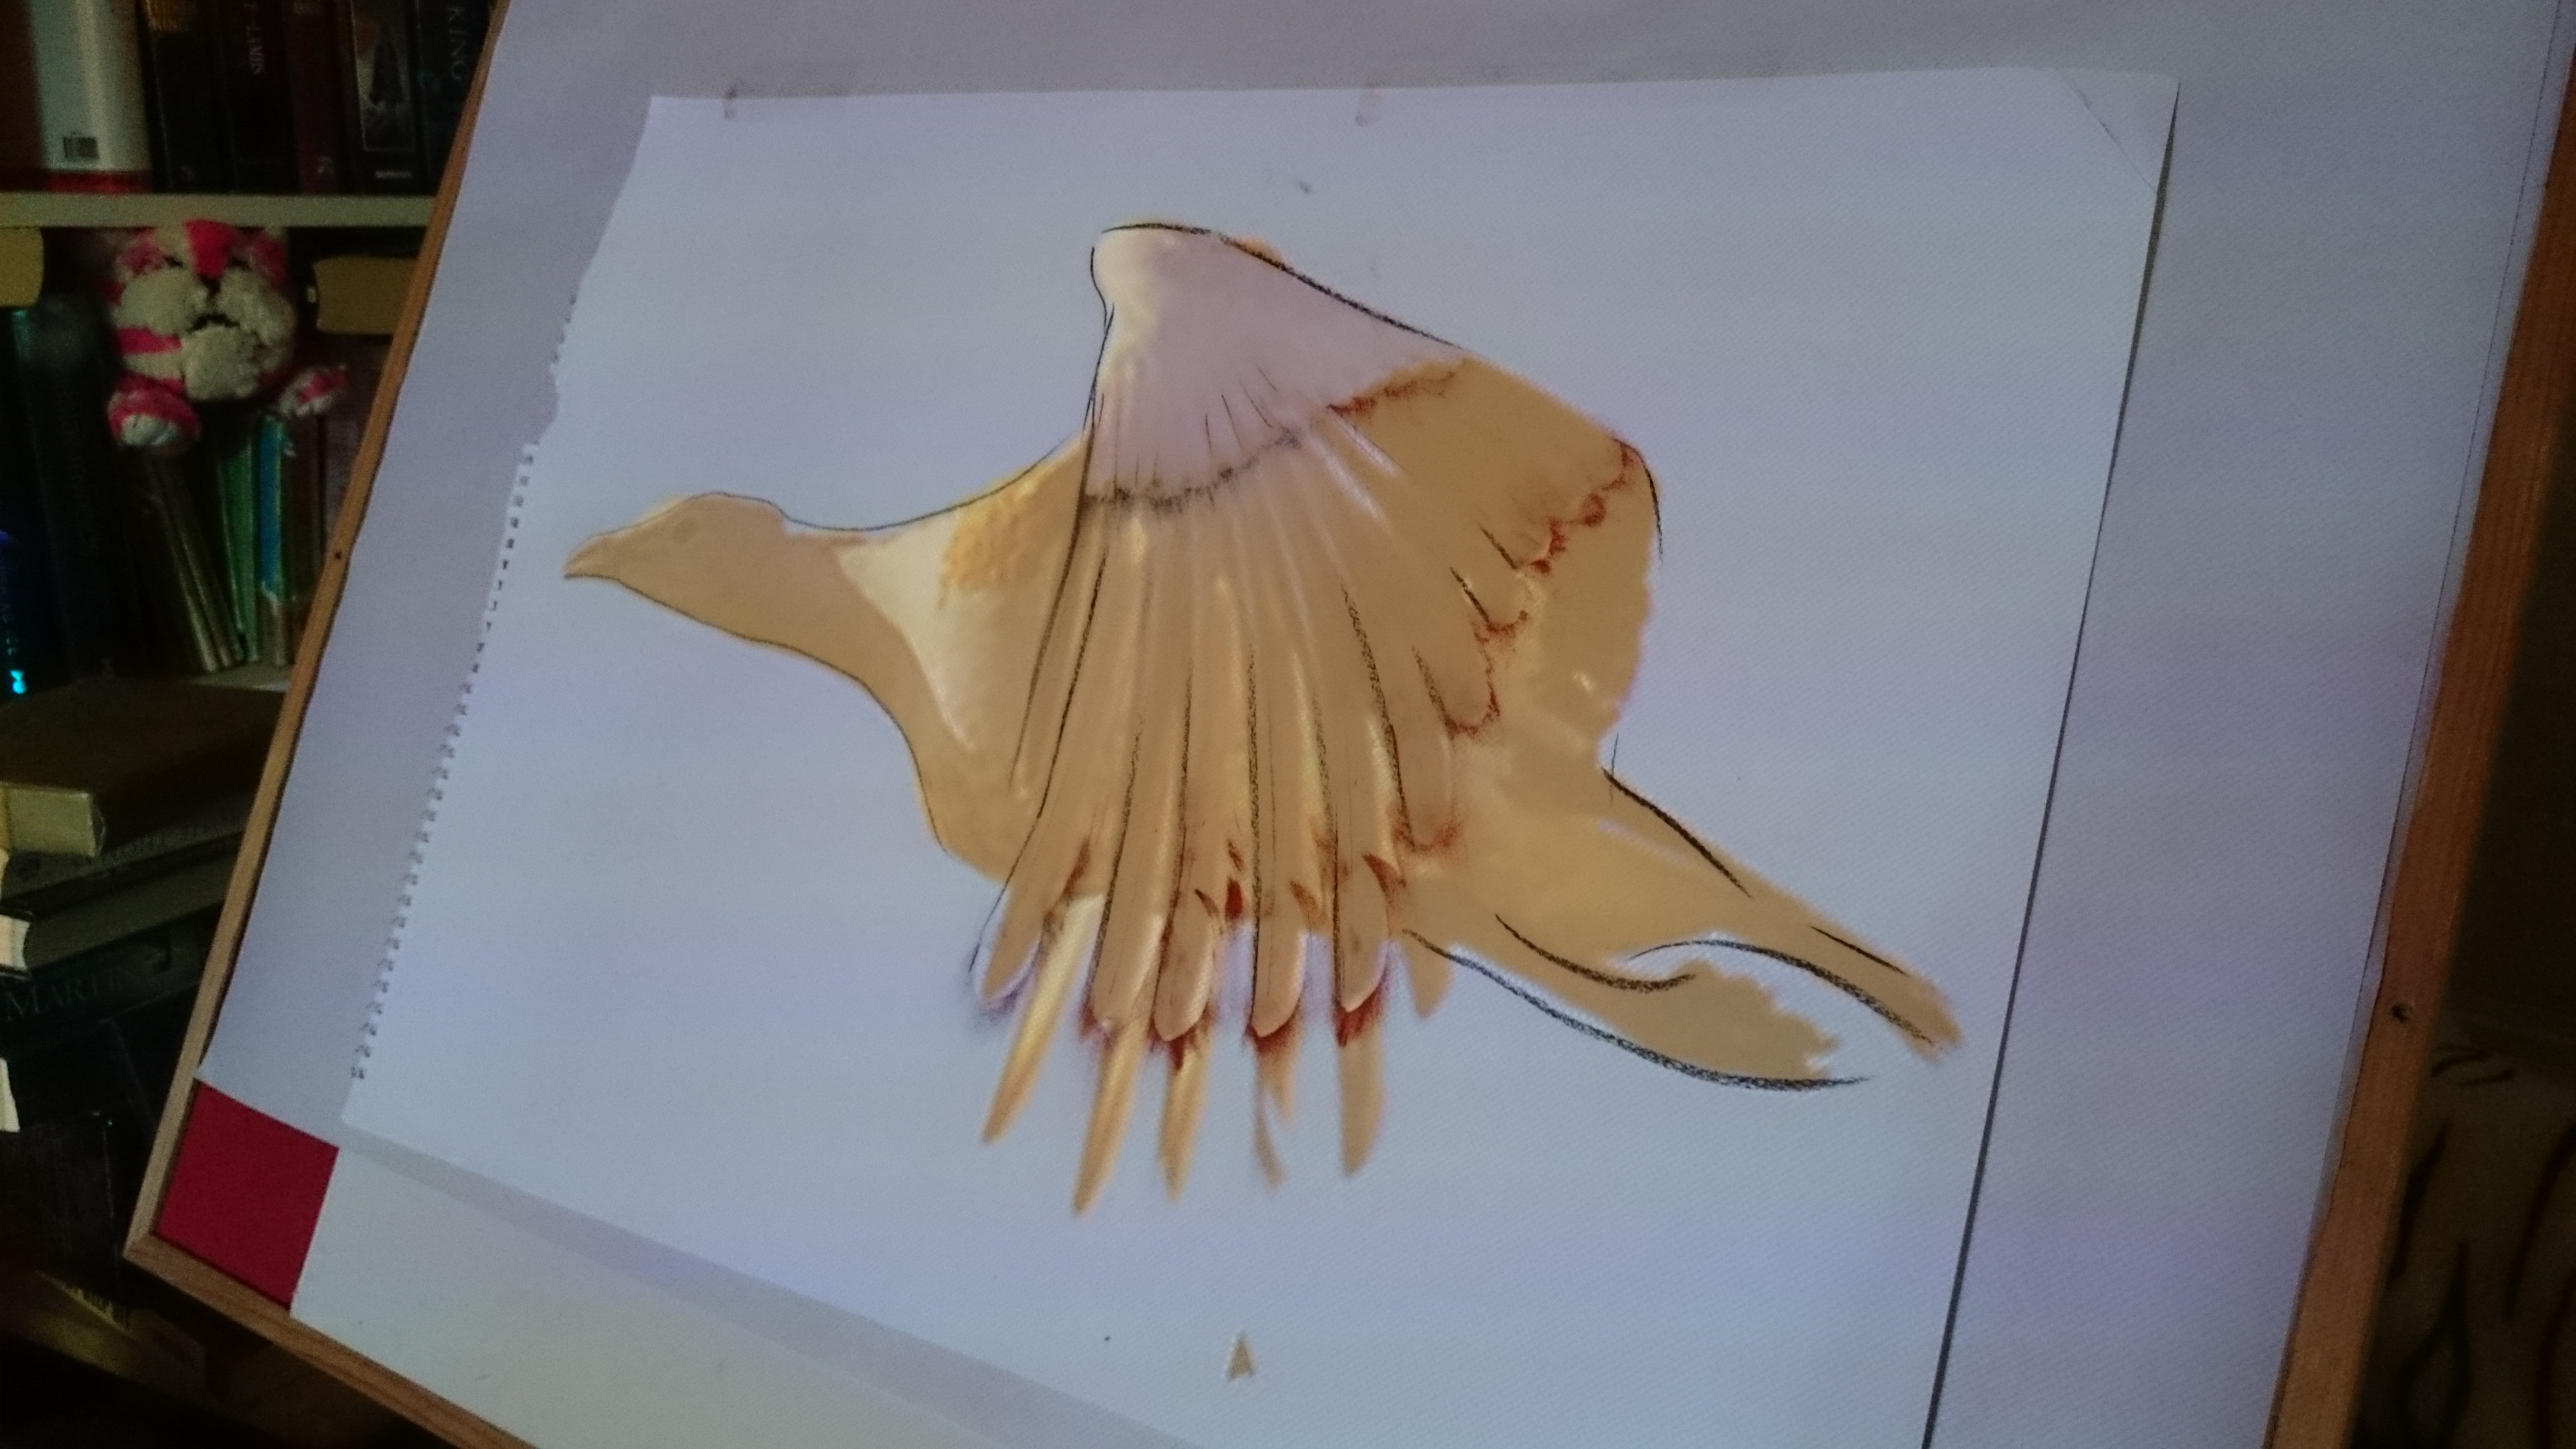 There may be an opportunity to colour the areas digitally with a light transparent fill once the animation is perfected – I did want to keep it minimal though.

Leave a comment