After thoroughly enjoying the Life Sculpture course in August I kept a beady eye on the Adult Education website as the teacher Do Phillips had said there was another one coming up later in the year. Slightly different format, a 5 week course, every Saturday from 10-12.30 started in September and I signed up.
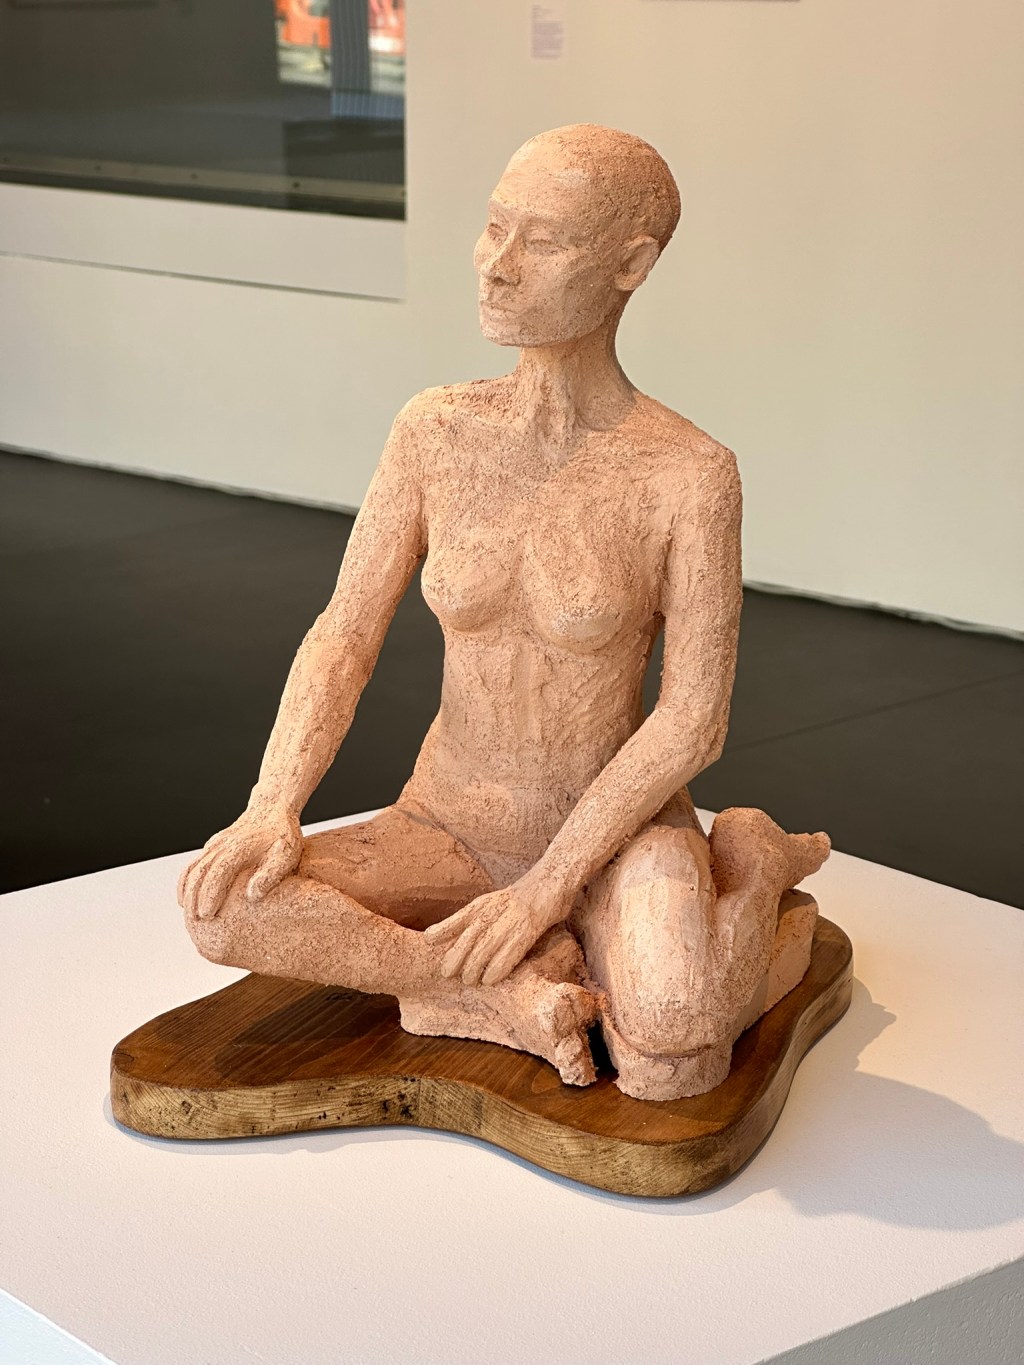
This time we had a lovely female model in a seated pose, which was a great compliment to the reclining male figure previously.
Week 1
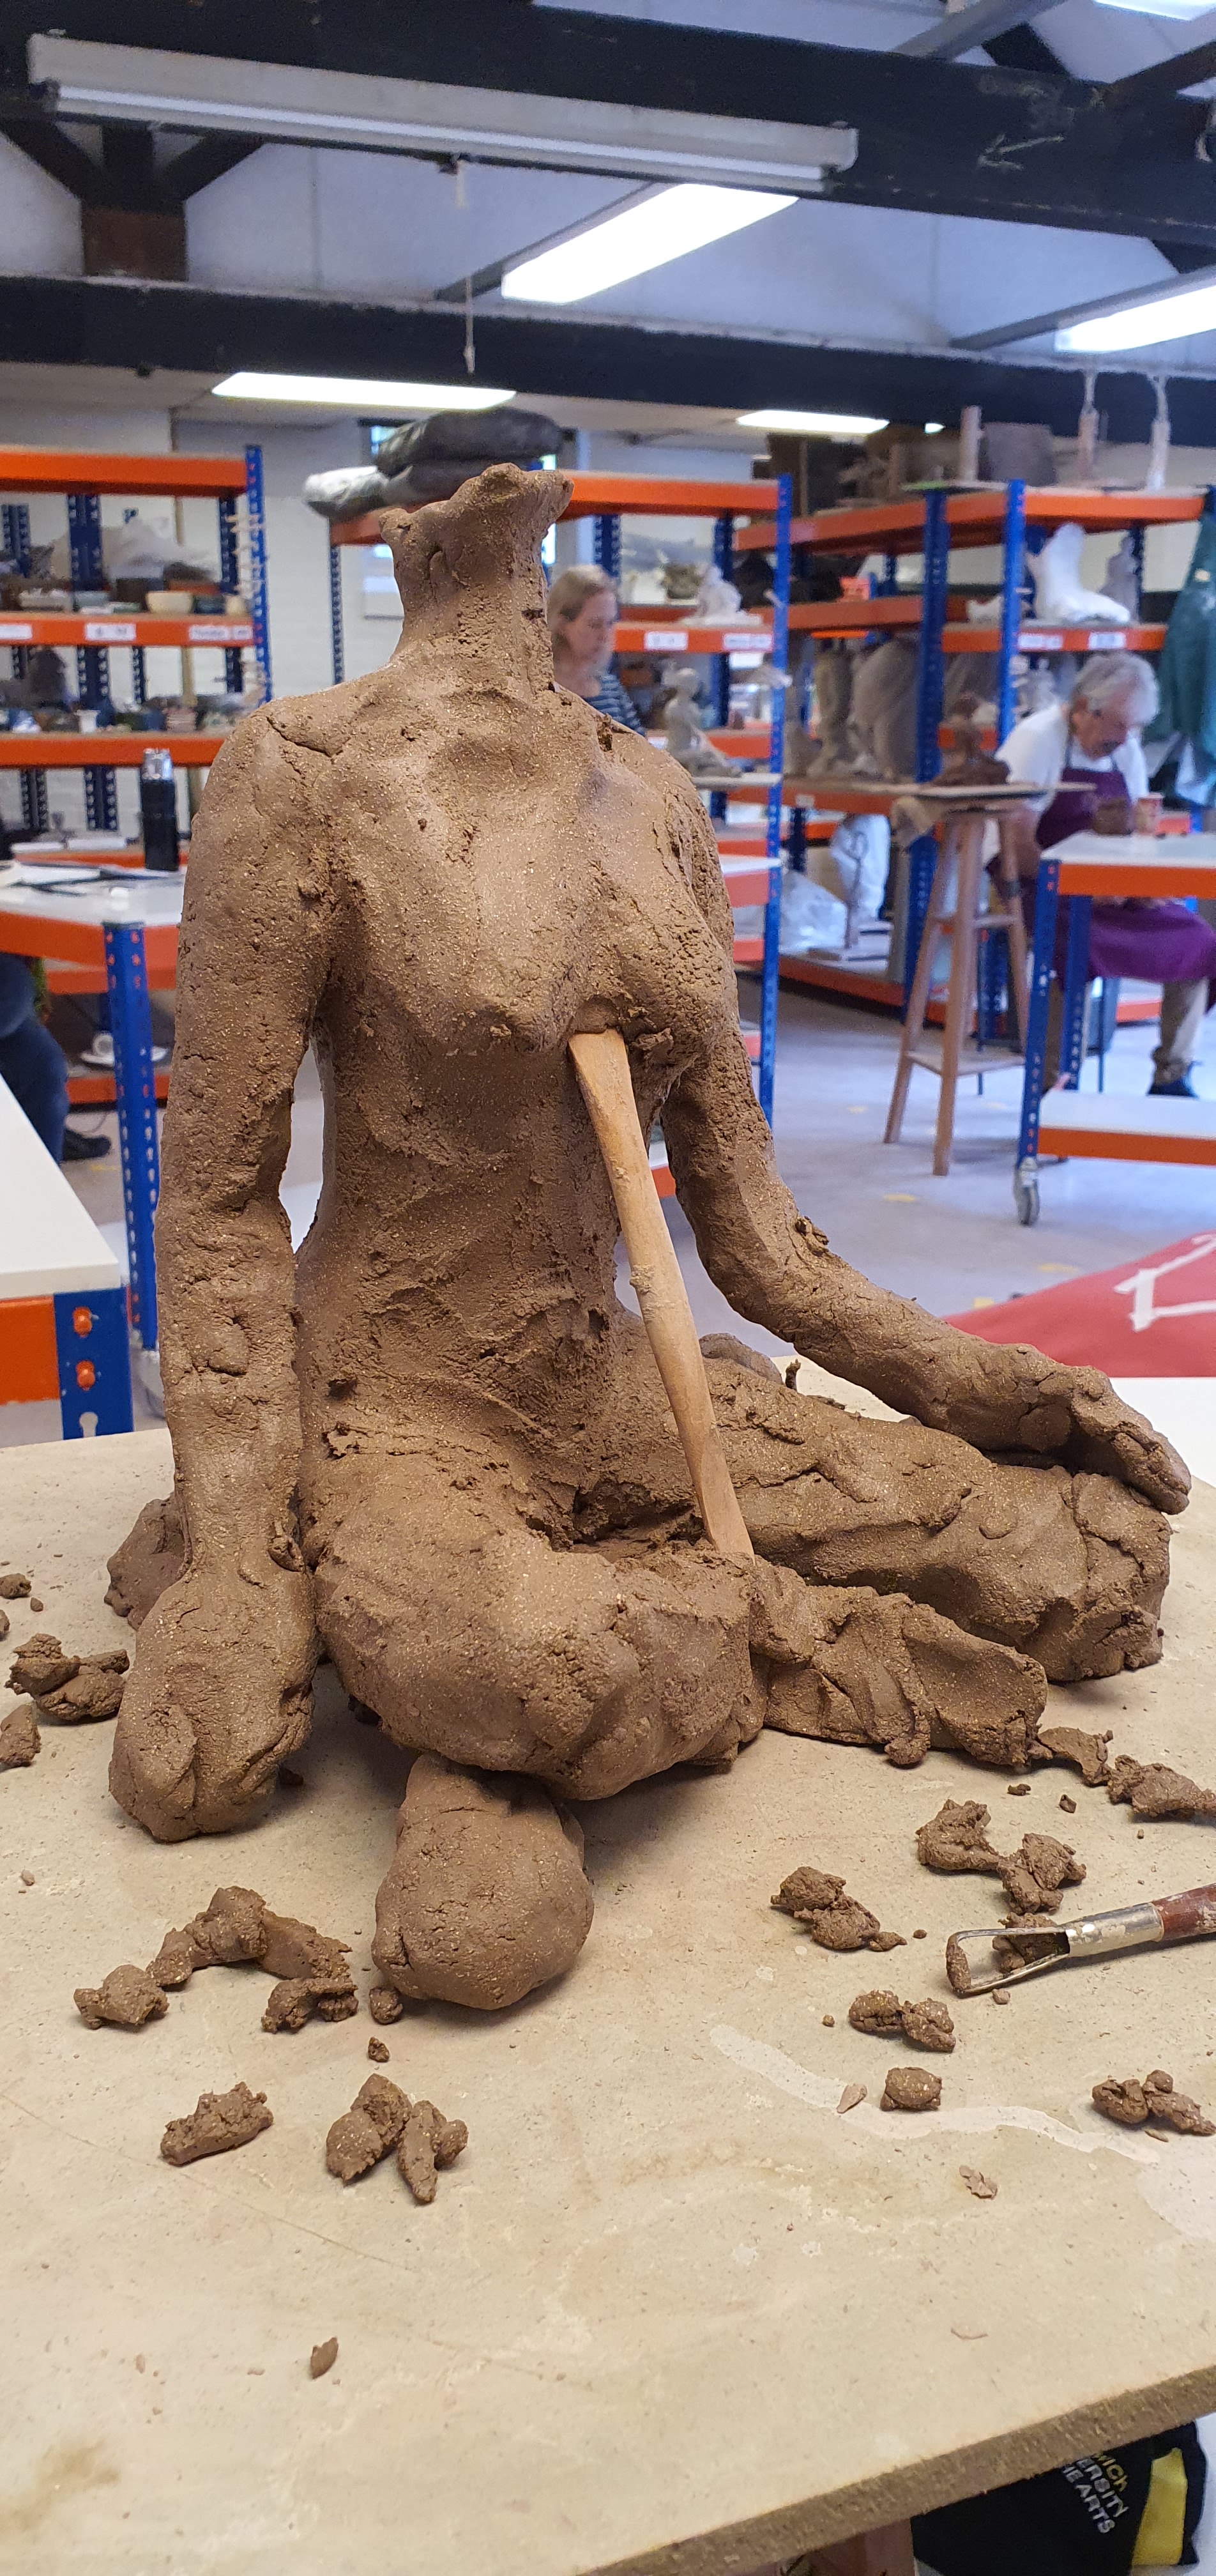
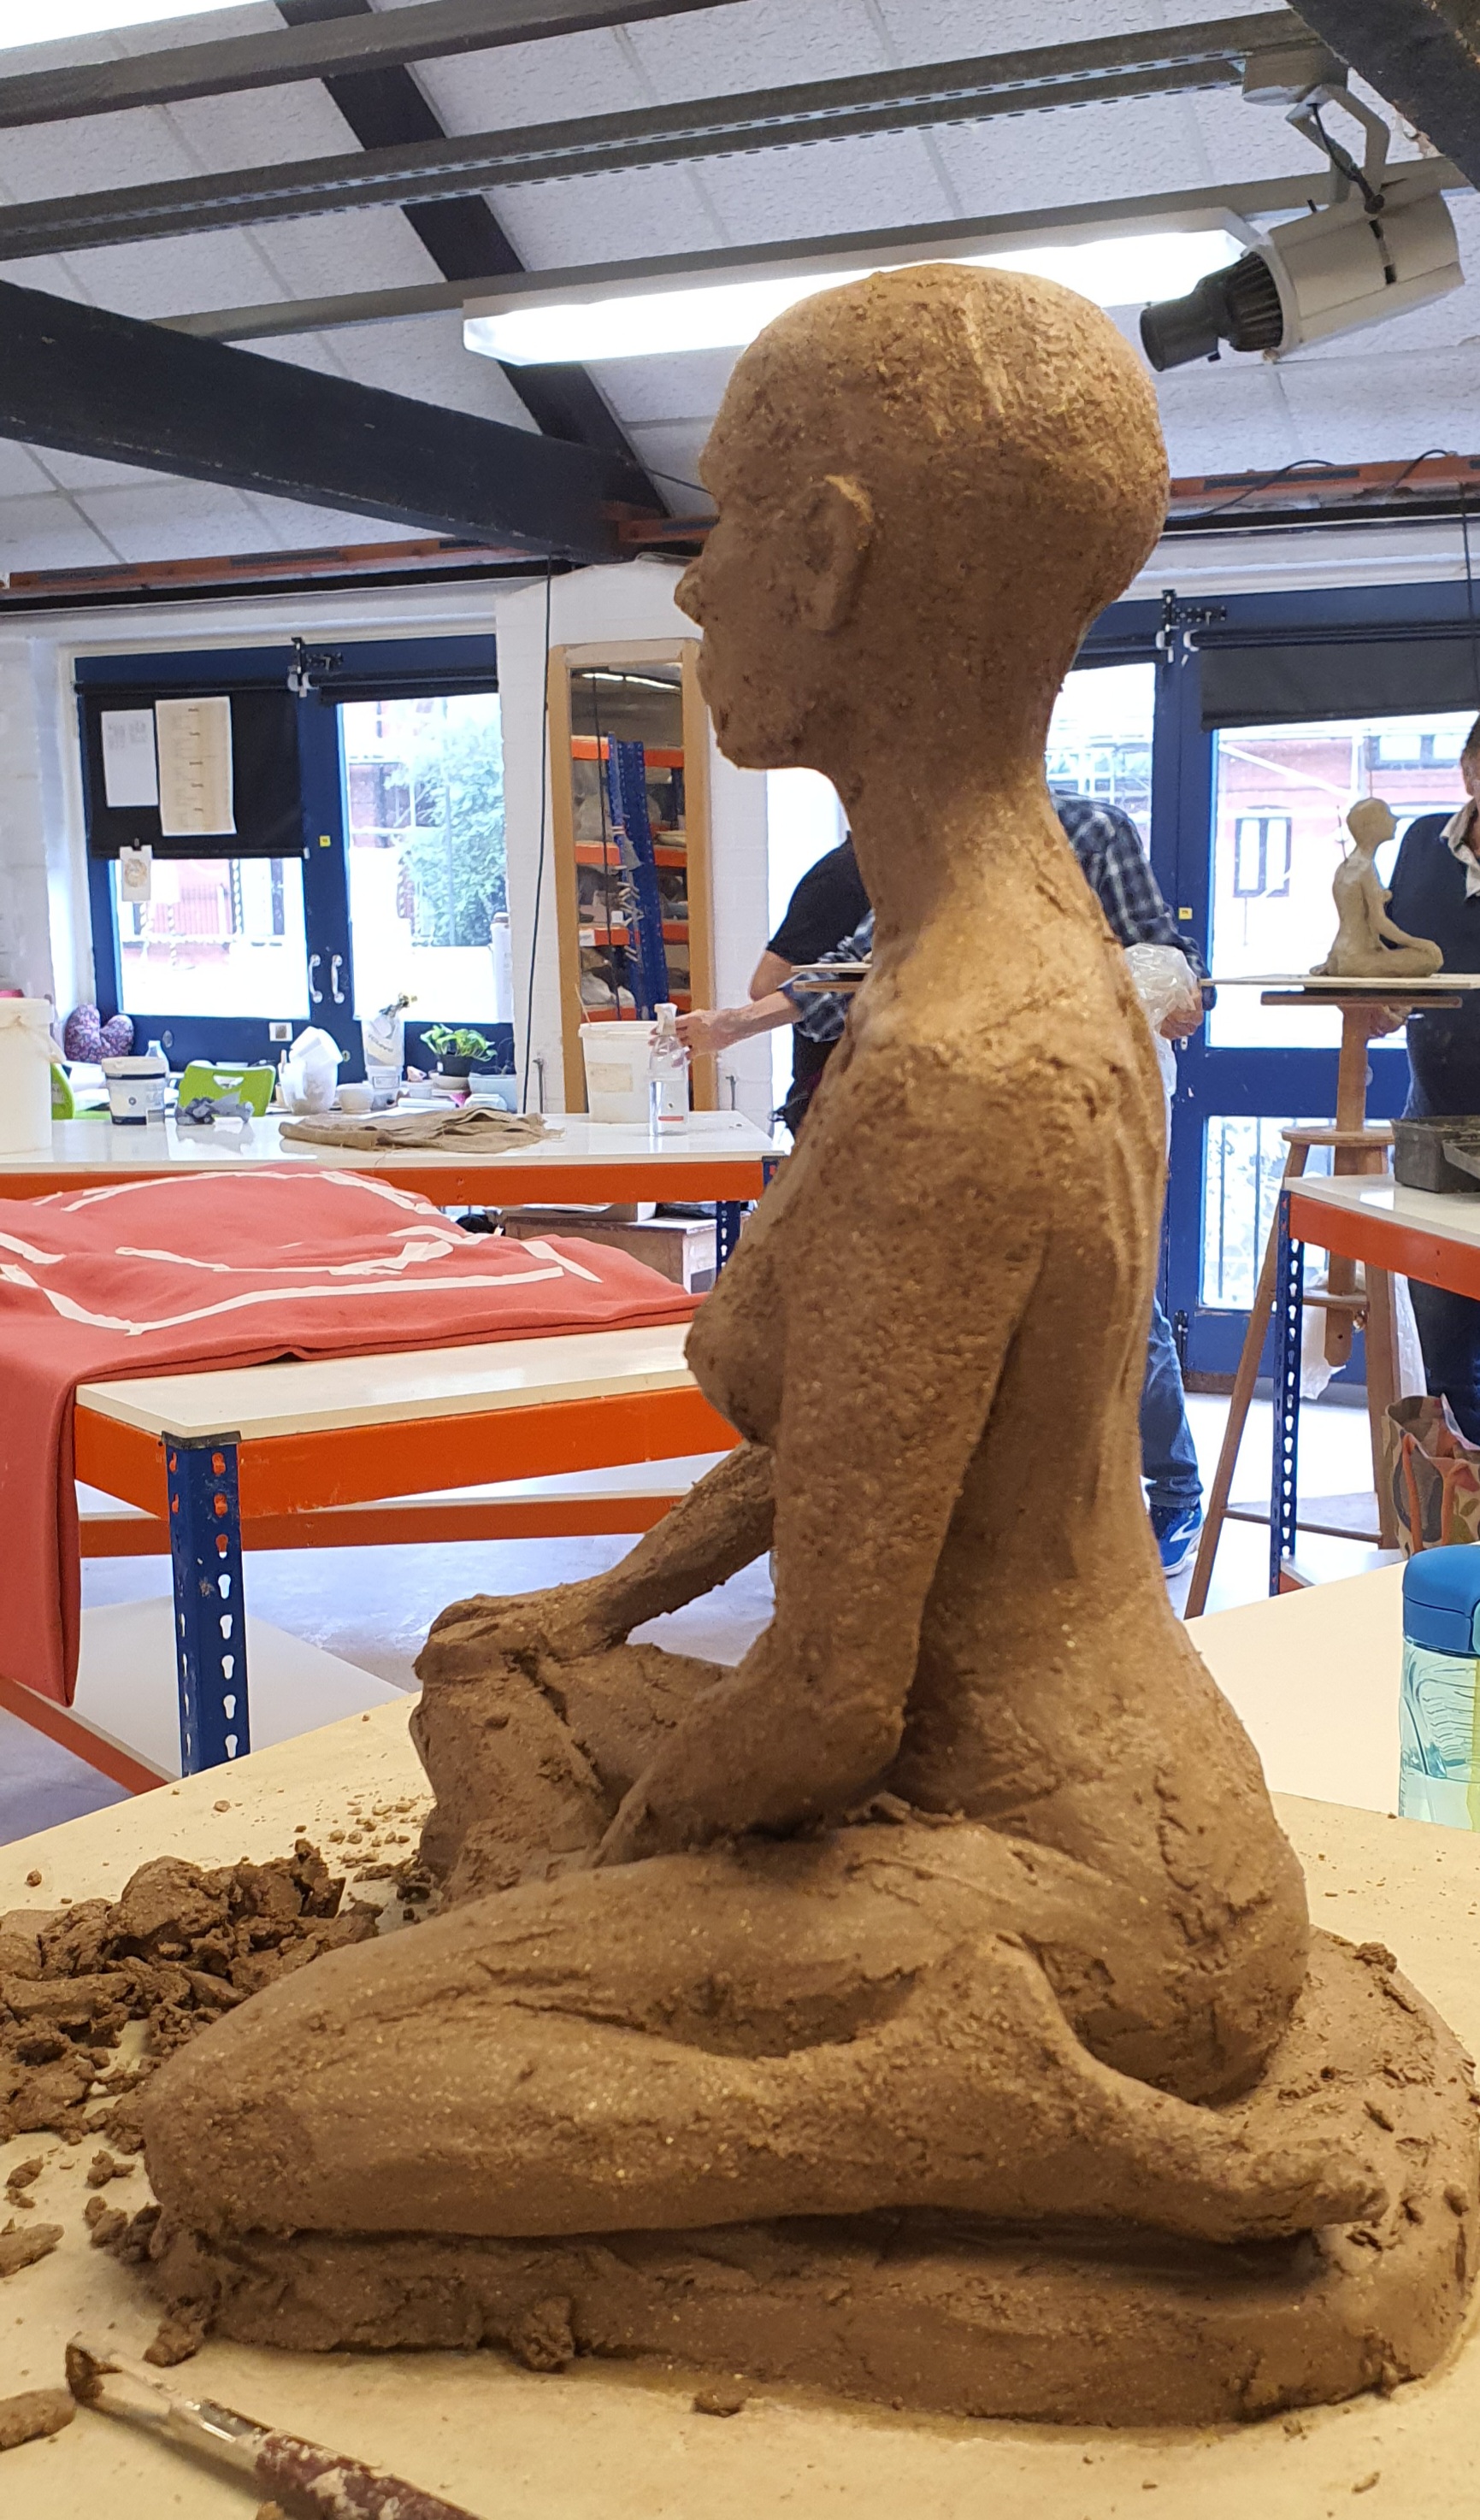
Following Do’s advice we start with getting the posture and thickness of limbs to start with and working out whether we want to put the blankets and pillows into the sculpture or just to make a slab with which to replicate the different heights of knees, legs and hands etc…
Coming to the end of the day I was really worried about adding a head on because of the extra weight but also if I didn’t add it this week I would have to wait a week and then adding wet clay onto slightly dry clay could make a weak spot. In the end I did add a big enough lump of clay for the head, but needed to prop it up on skewers in the hope it would be ok for the following week!

Week 2
Every week we wrap the sculptures up, tightly if we don’t want them to dry at all or lightly if we want them to dry just a bit. Unveiling my sculpture on week 2 the only thing I had on my mind was, is the head still on, are there any cracks, but all was well, and the skull was pretty well balanced on the neck.
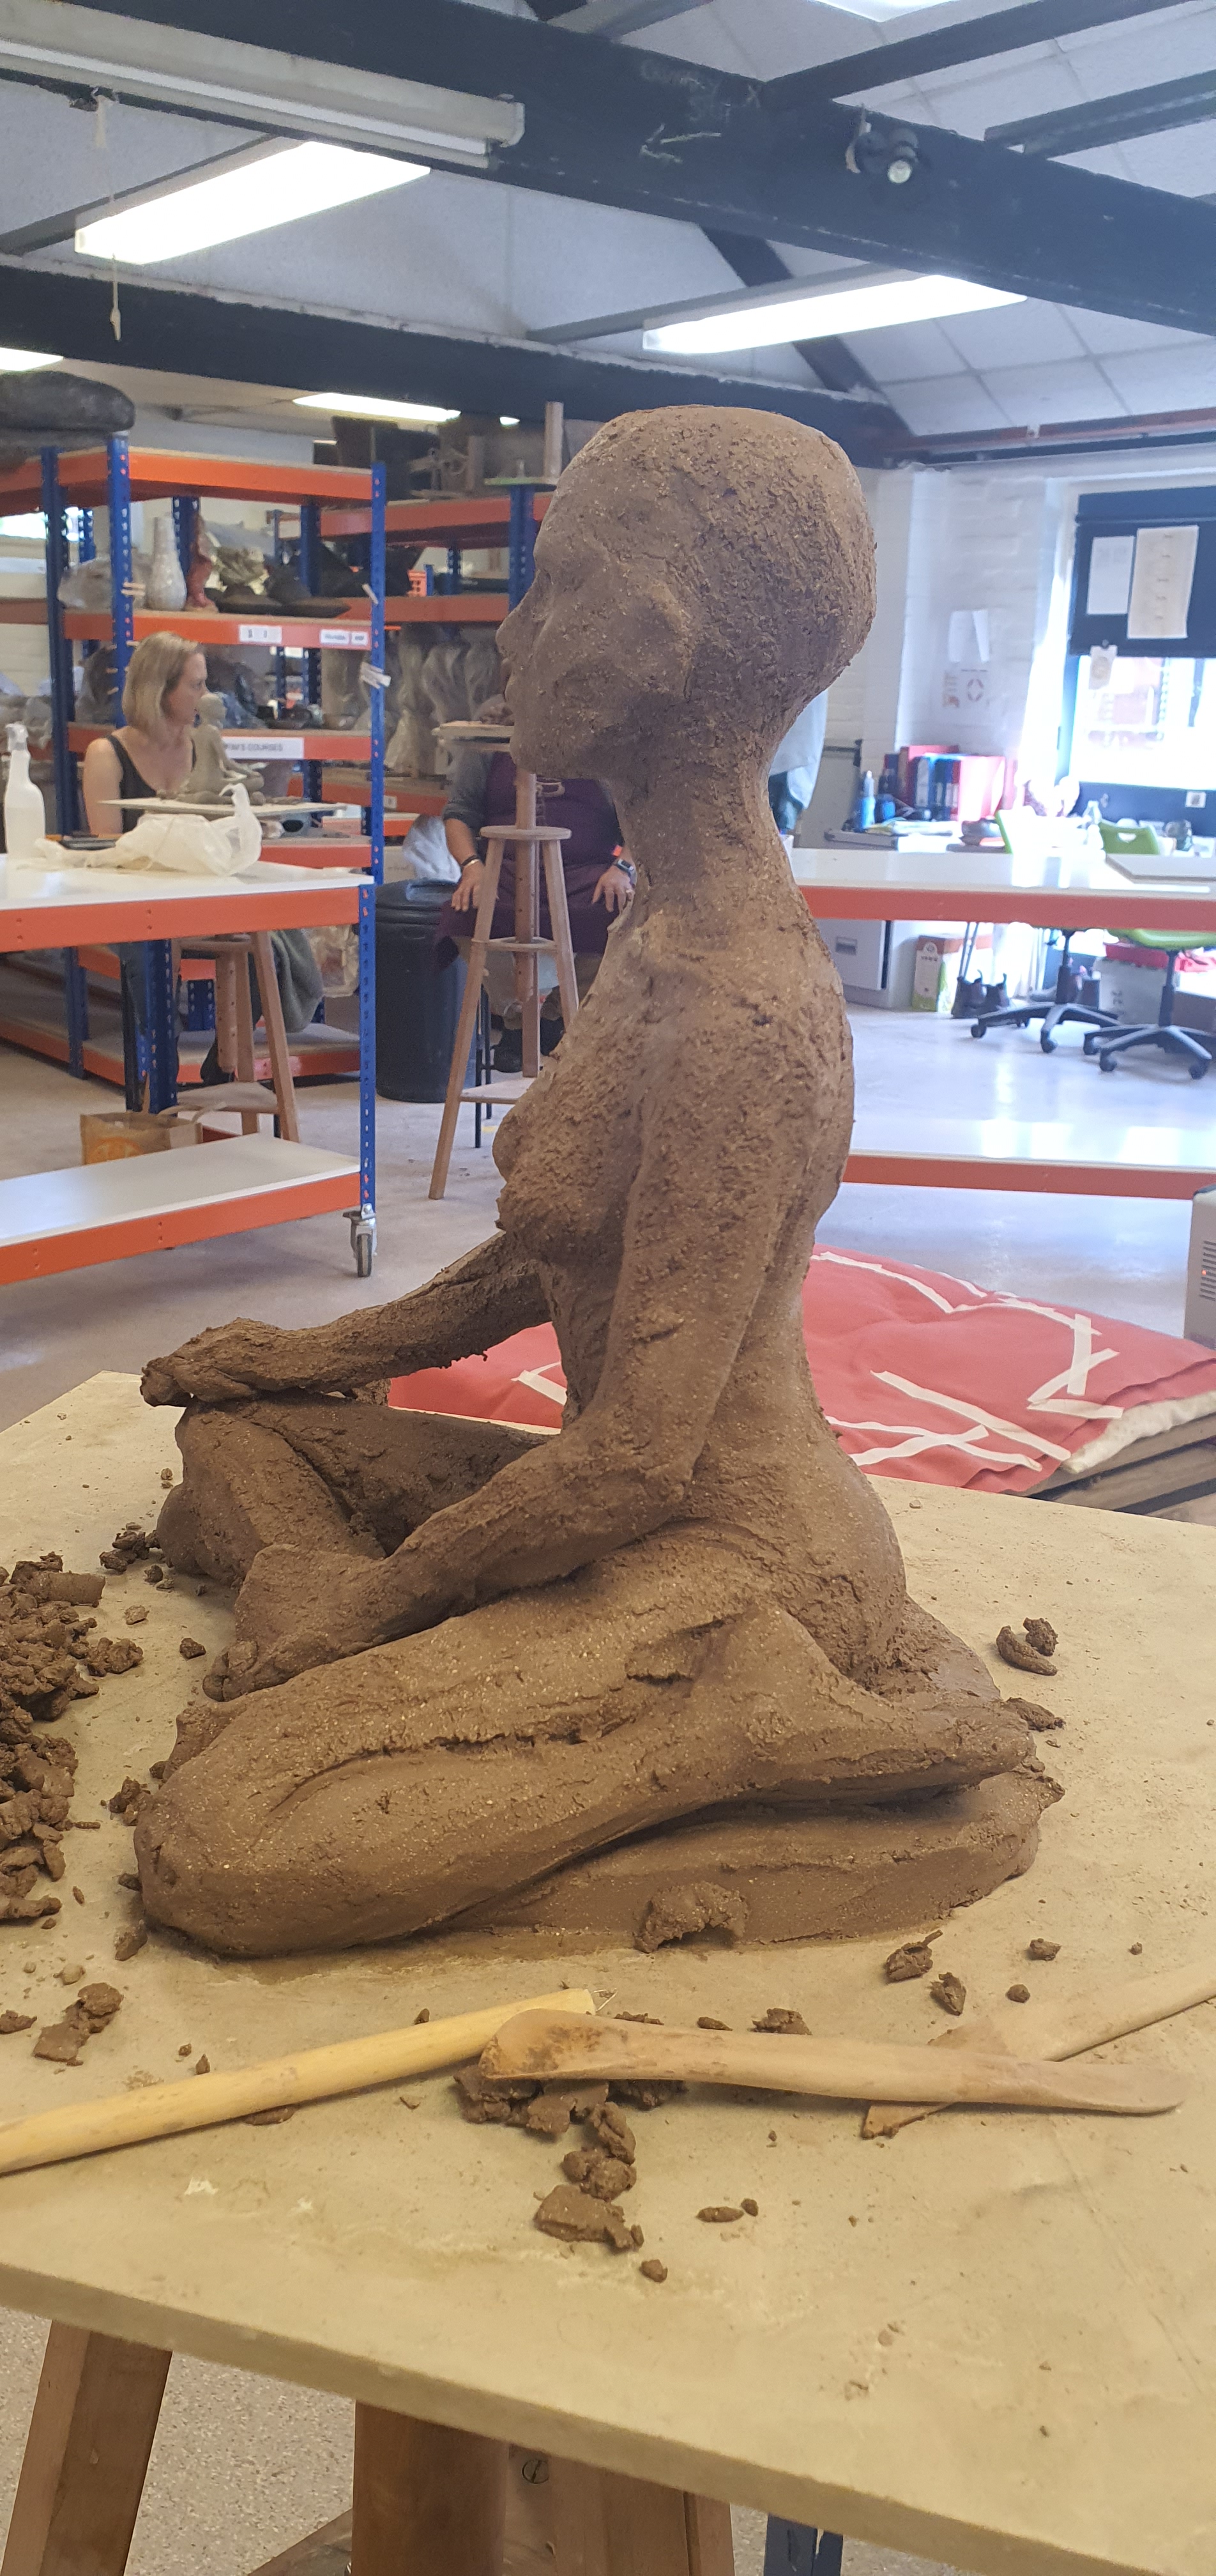
I started to work into the bigger chunky shapes and began forming the planes of the face and how the hands would sit.
Week 3
I really love this style of clay, you can probably see it is the same gritty heavily textured Crank clay that I used with my previous sculpture and it just gives me freedom from getting too worried about perfection.
I concentrated a lot of time on the face this week, and using this clay makes it an interesting challenge as there’s only so small with detail it will go!
Just as in my Life Drawing I really like to work with planes and simplified large shapes.

Week 4
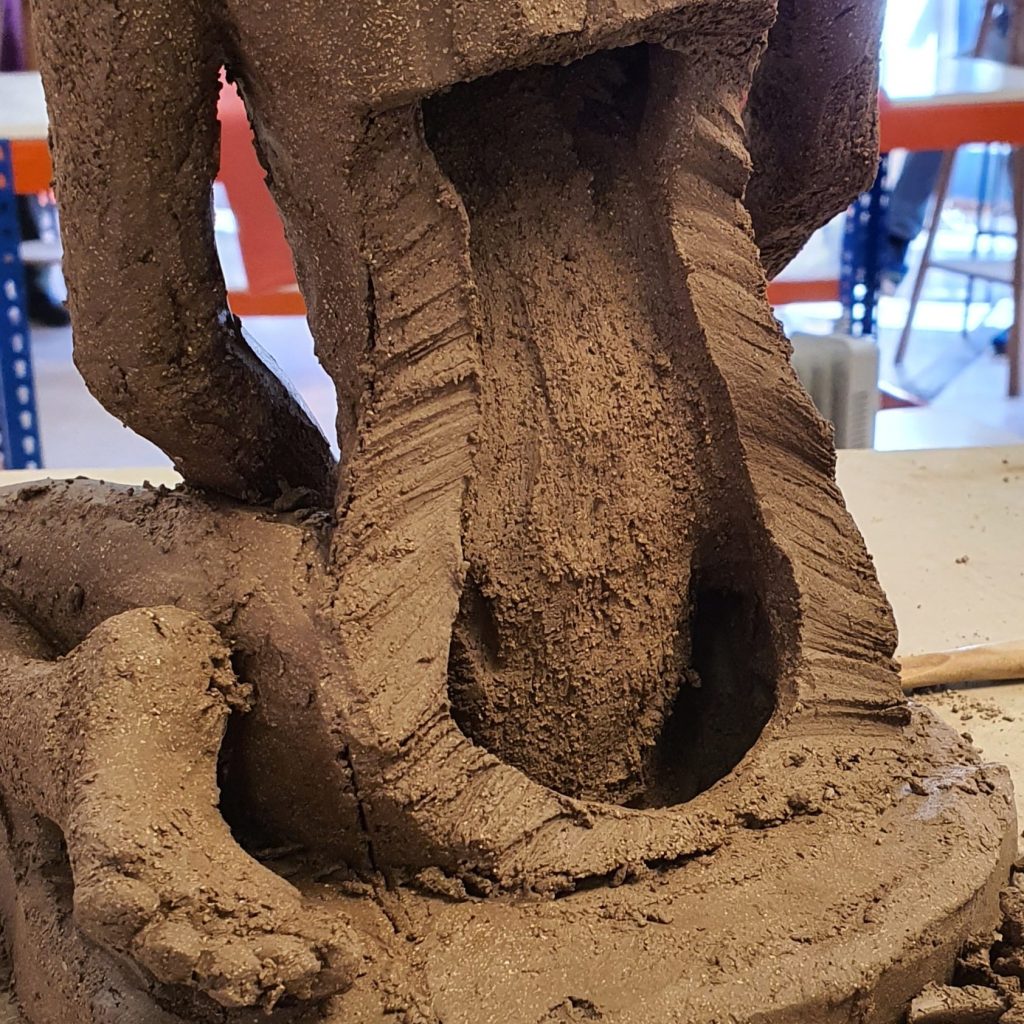
This week was the ideal time to get the horrendous hollowing out done, giving me enough time for tidying and final tweaks and finessing.
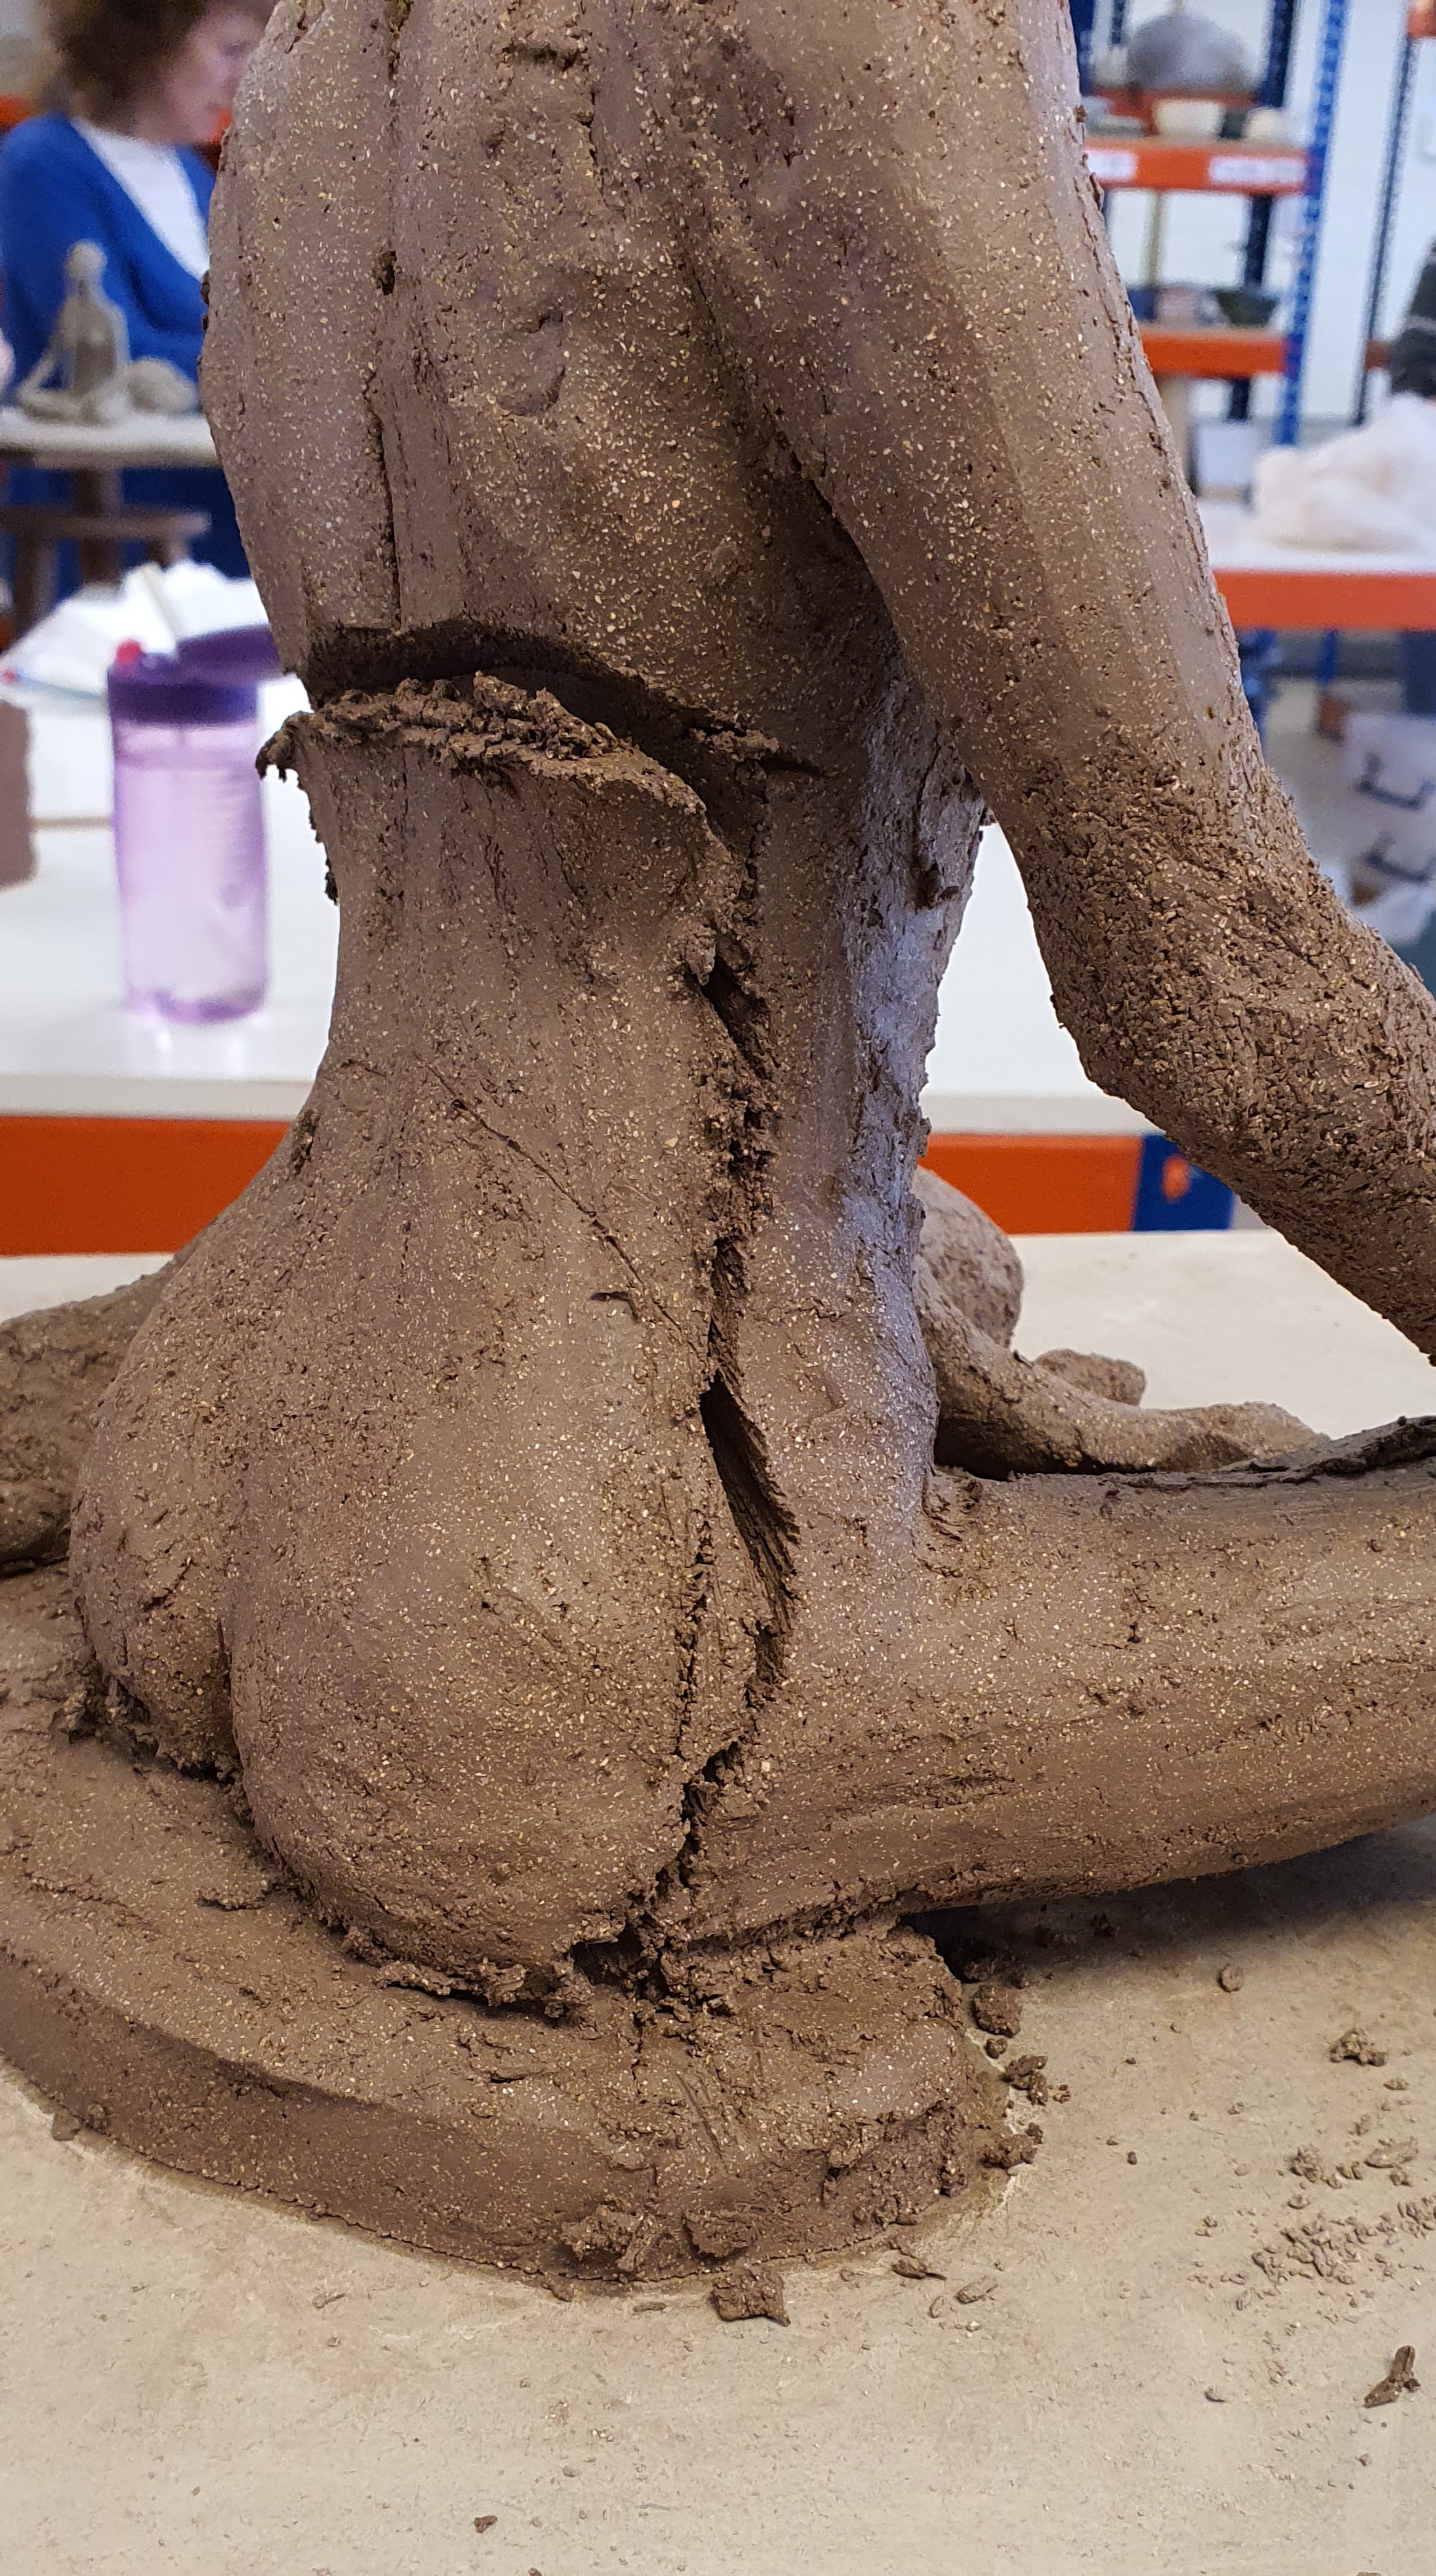
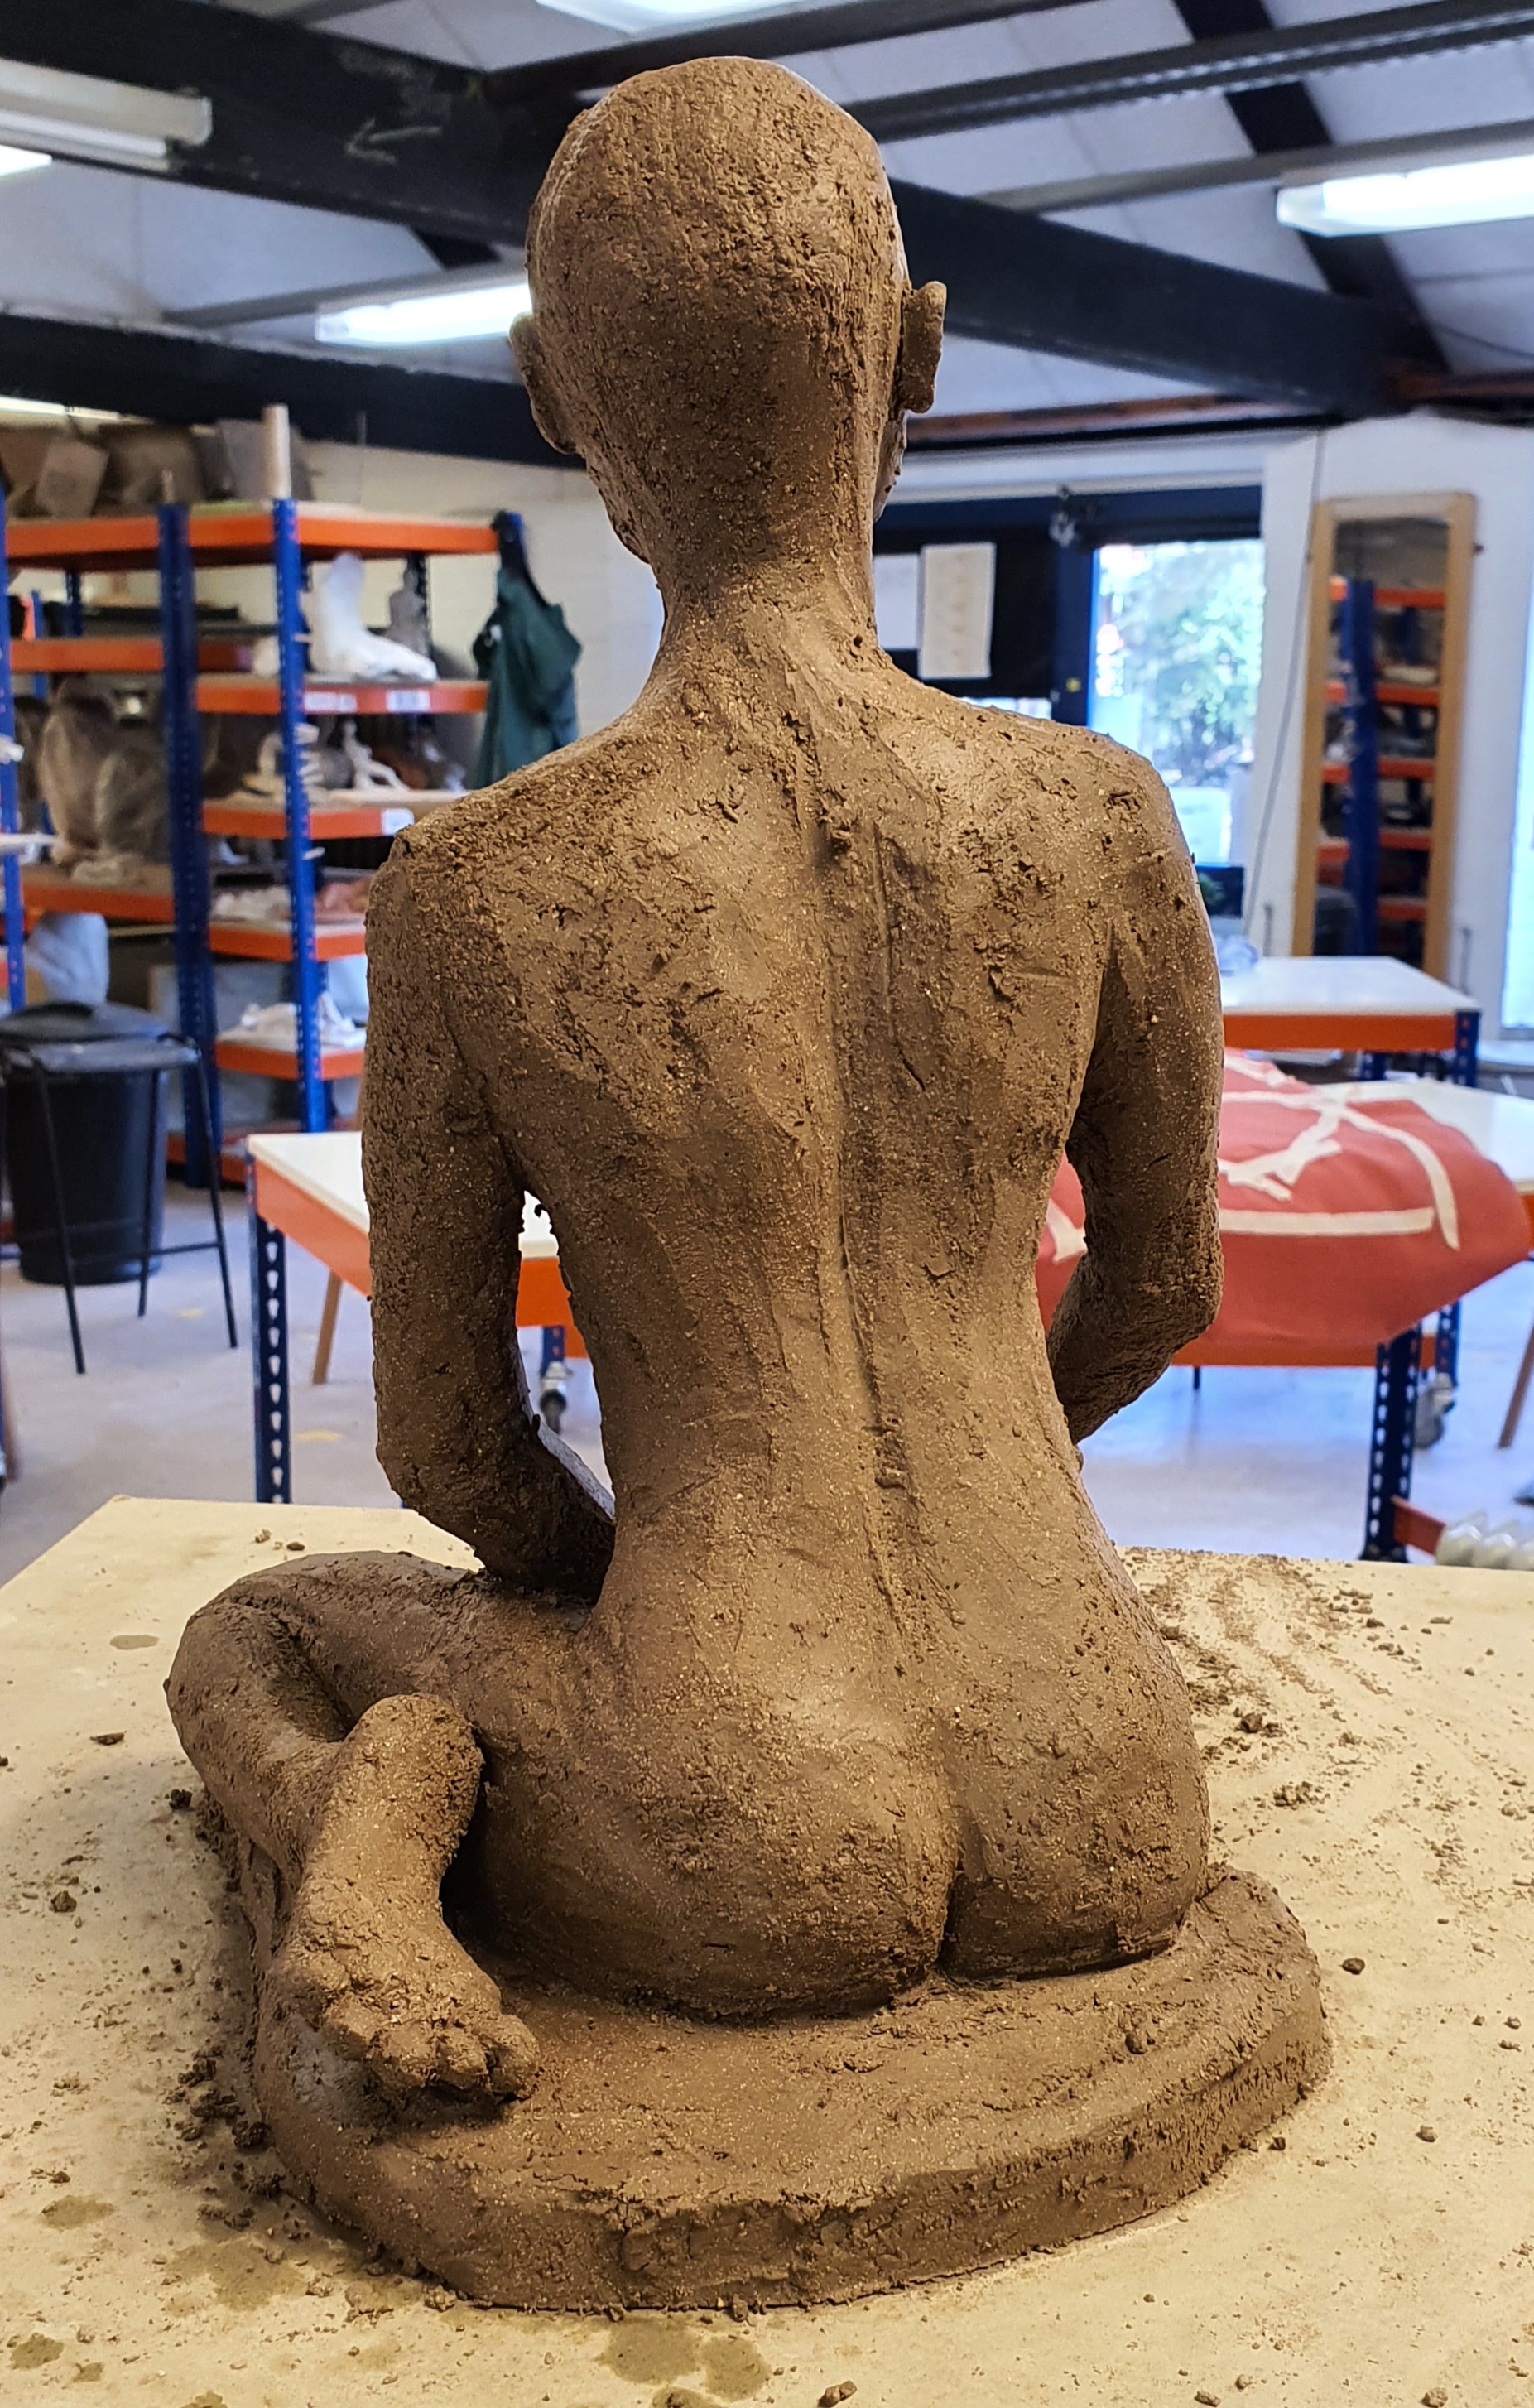
With advice from Do I cut a slat off the back all the way down to the base board again, and hollowed both up into the shoulder and down the tops of the thighs, pretty much as far as I could reach with the tools.

Week 5
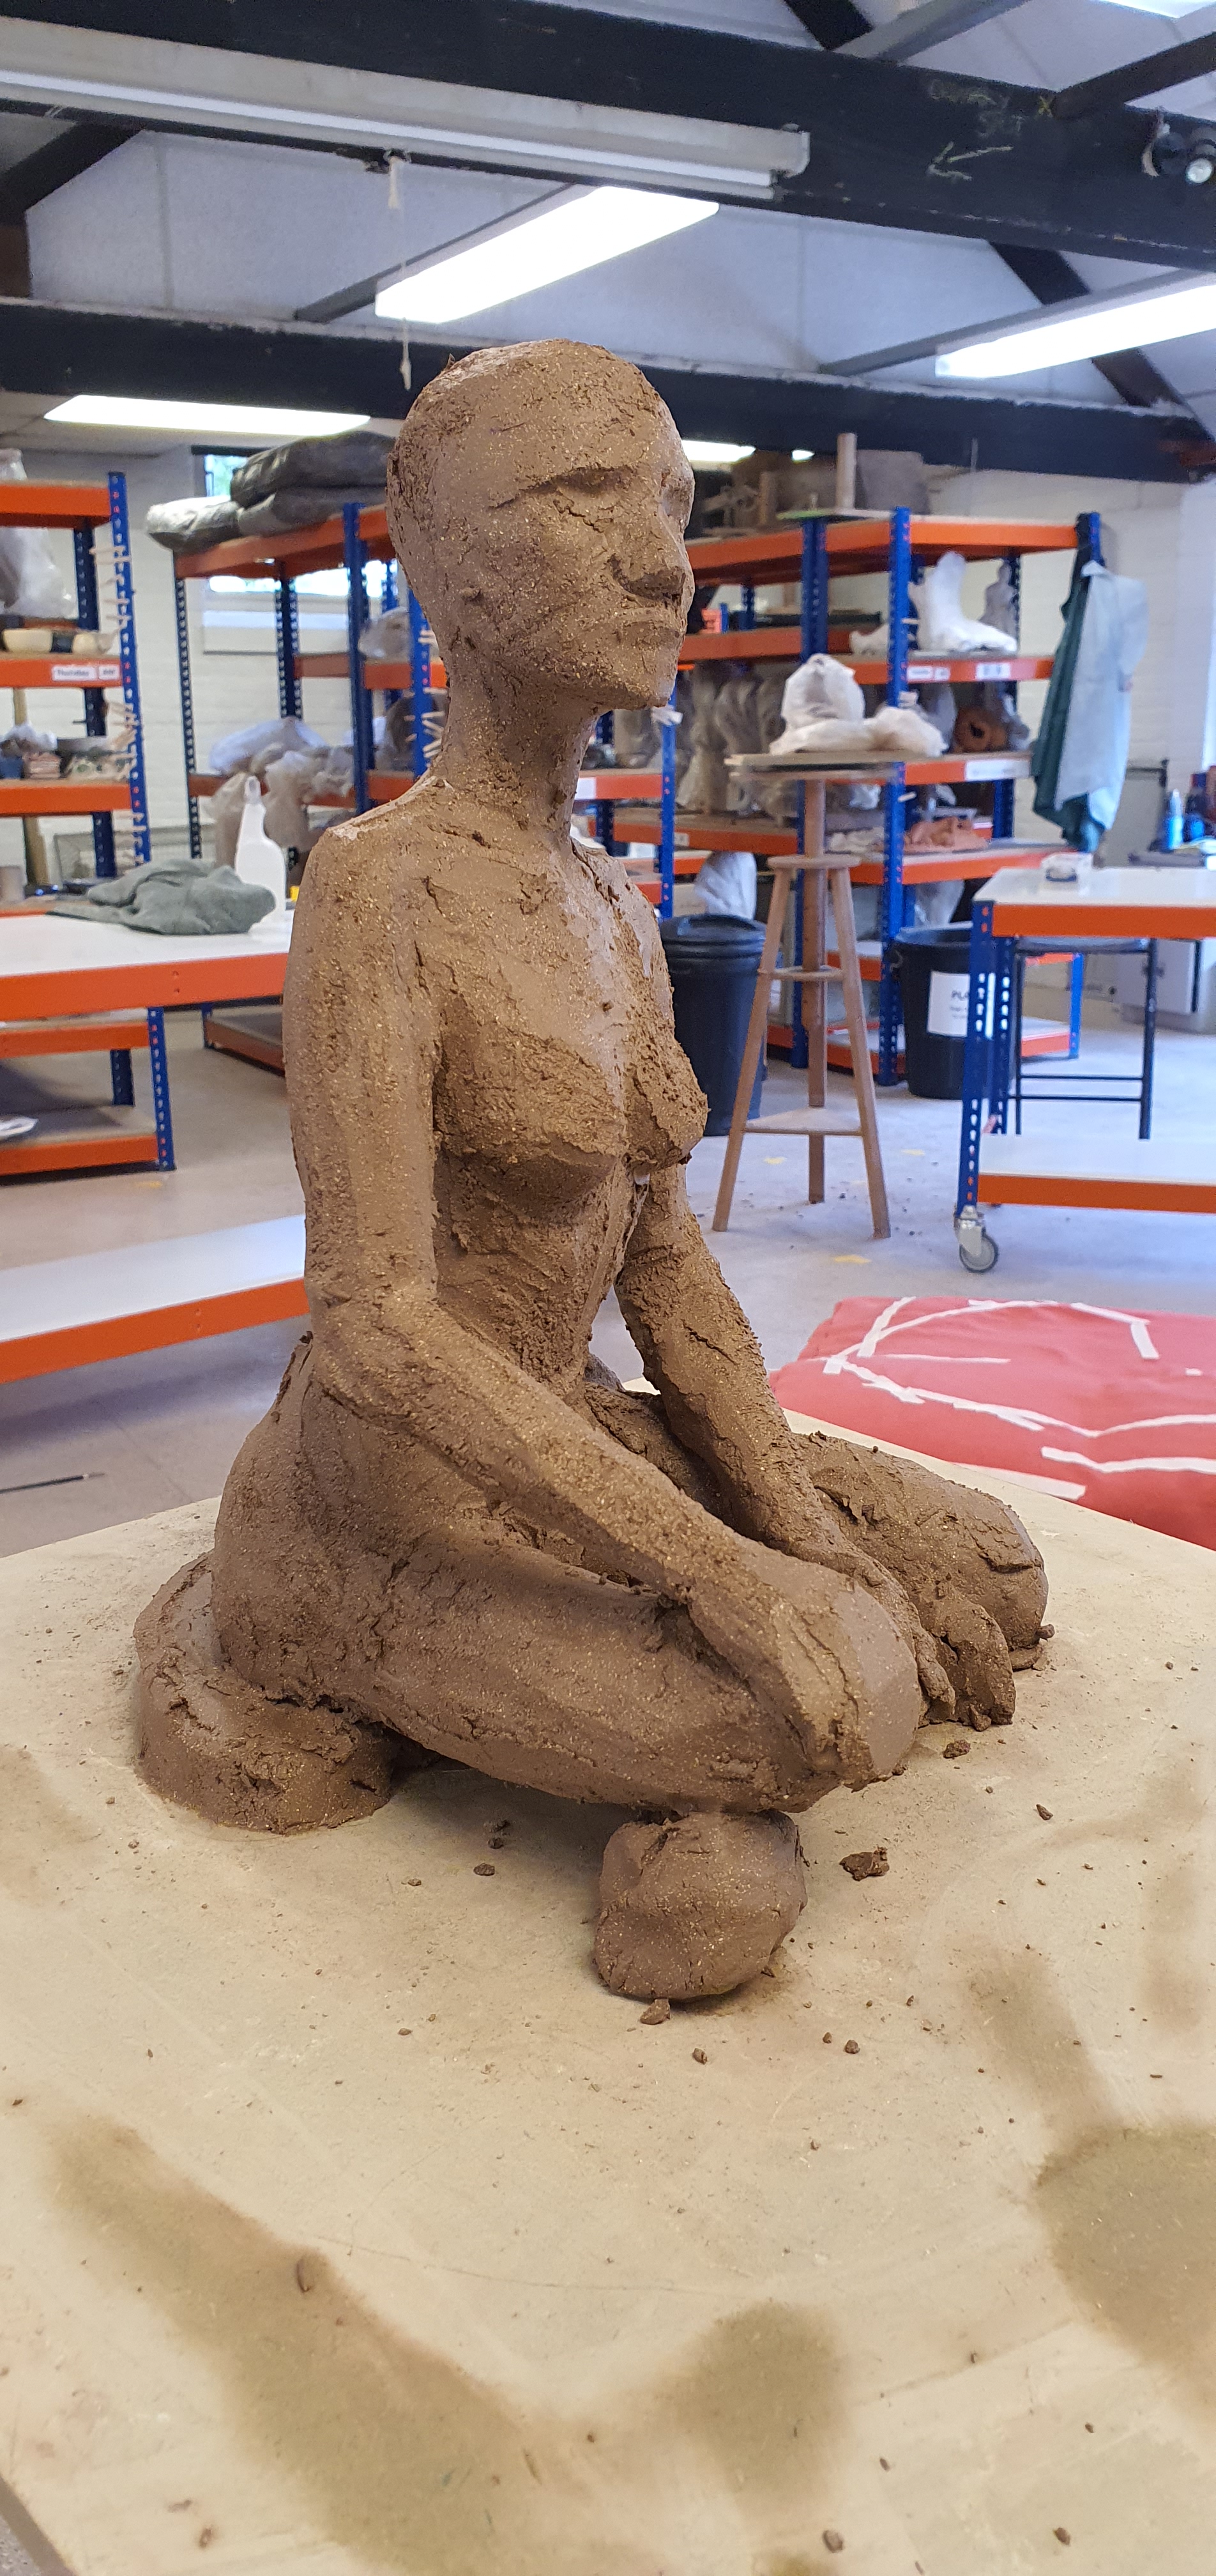
Our final week and again I was able to thoroughly immerse myself in the finessing process and I am super happy with how my seated figure has turned out.
The model was fantastic and managed to keep her beautiful posture pretty consistent, even though it definitely changed over the course of the 5 weeks!
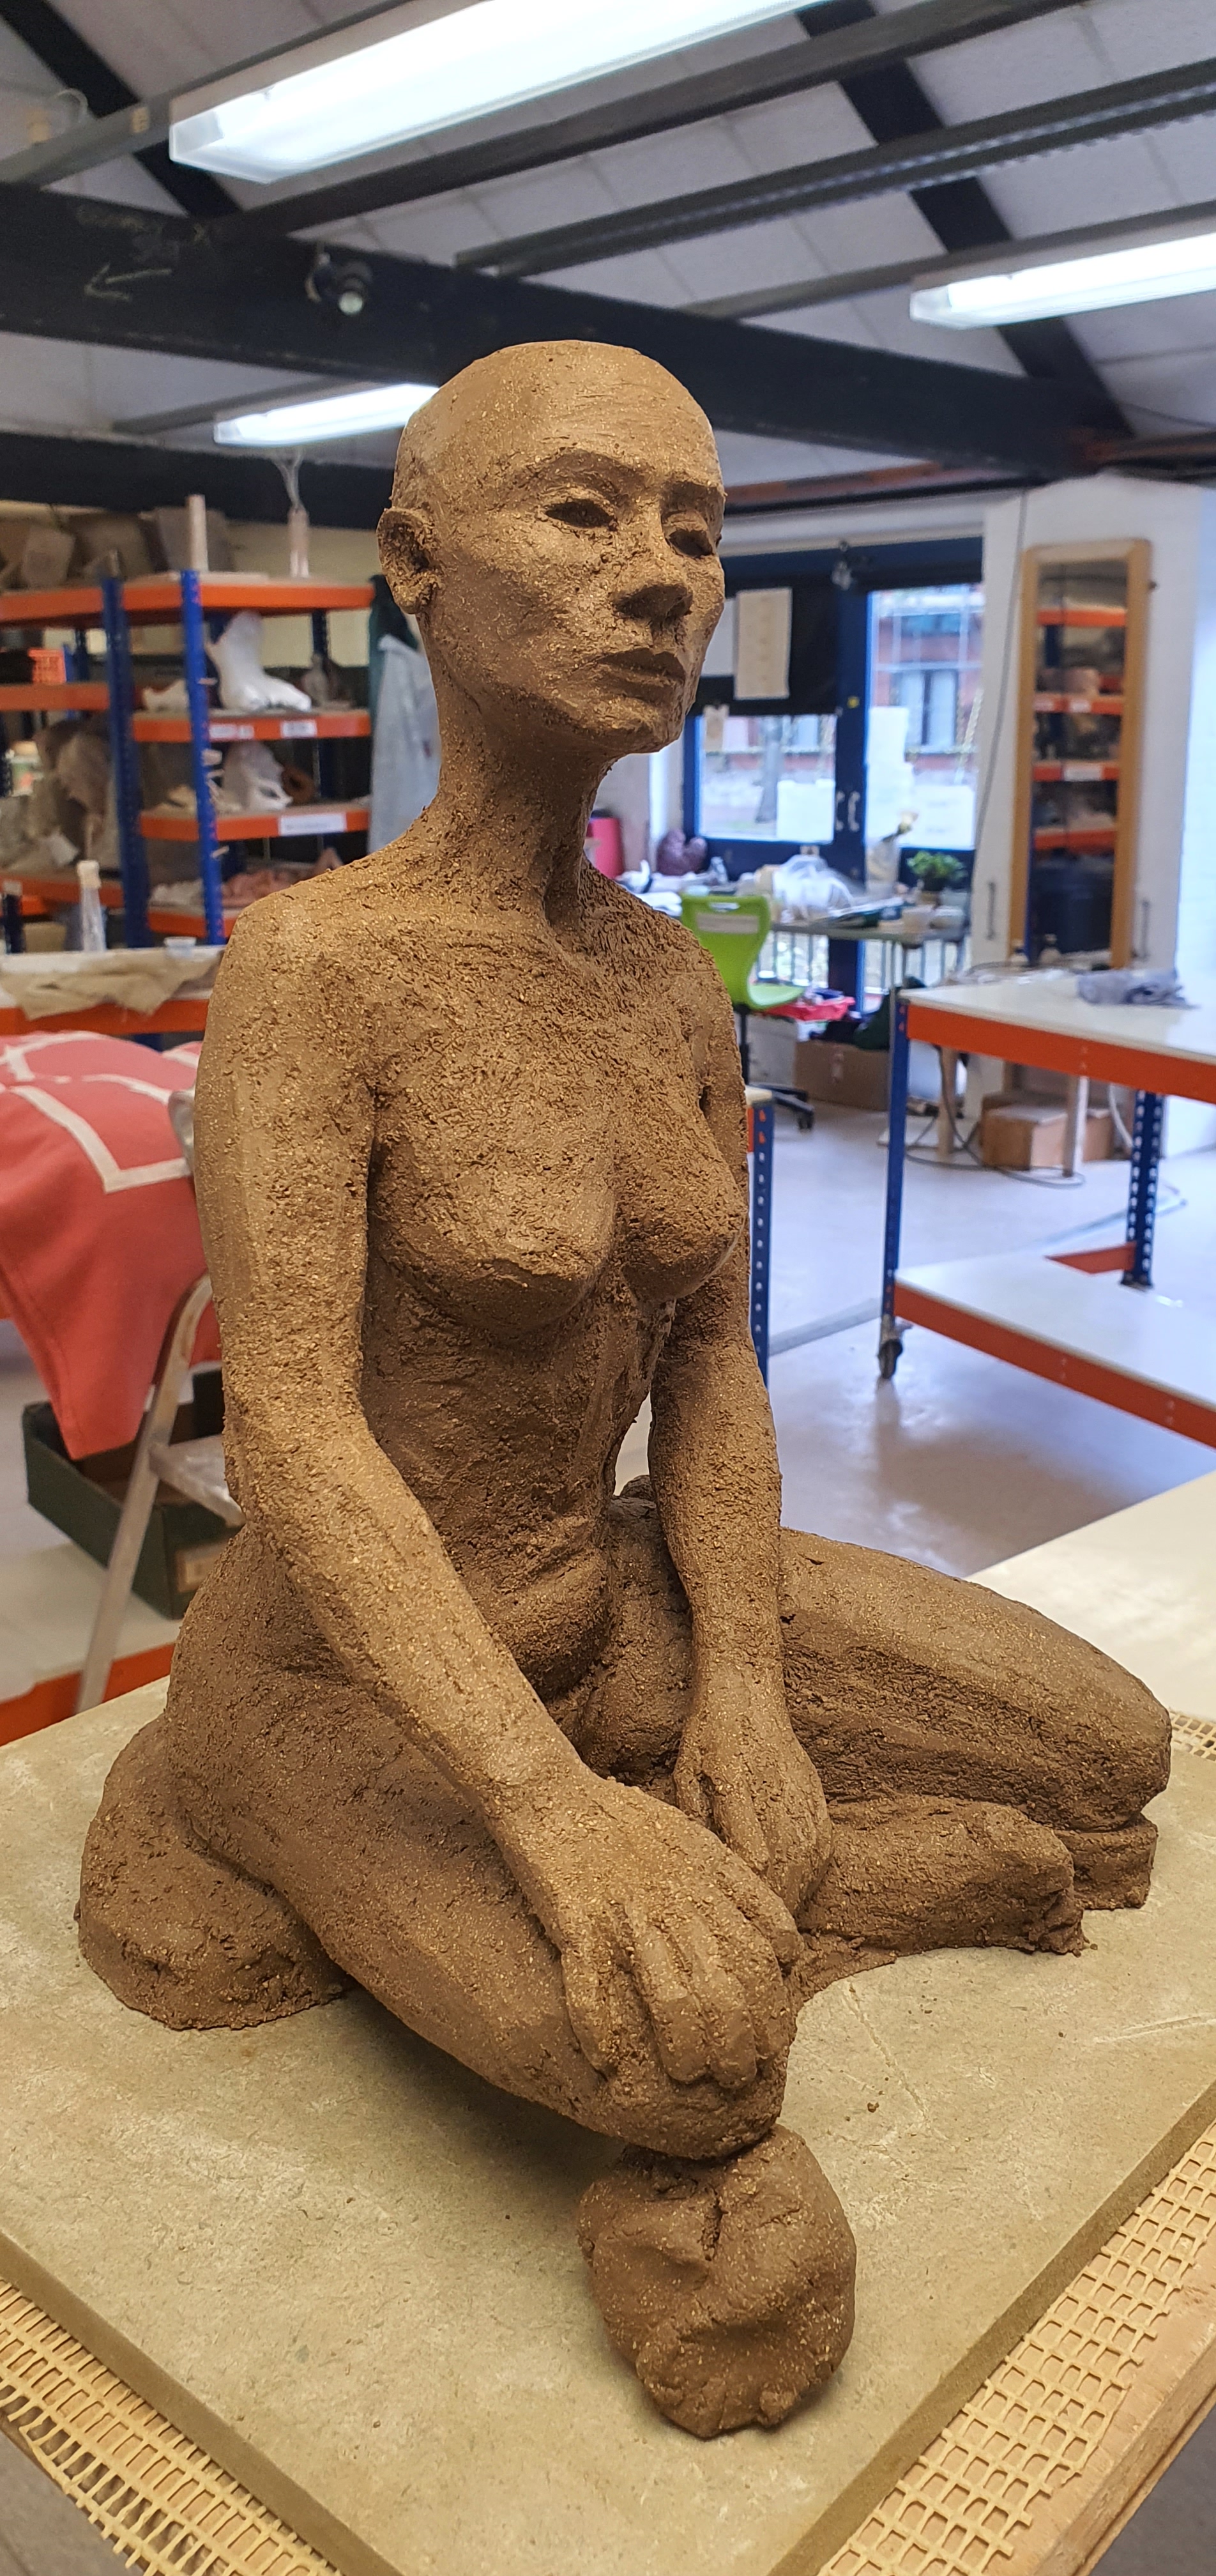
I cannot wait to see her fired 🙂


Leave a comment