After making my basic model in Maya, I really wanted to use the UV mapping controls to get some texture onto the model, to make it more realistic and to see just how complicated realising a virtual bird might be.
I spent most of a day looking at how to UV map, scratching my head and trying to replicate the tutorials from Lynda, but every time I tried to apply it to my model, it just wouldn’t work. It just went wrong and I seemed to have no control over it in a sensible logical way. I can normally get on with most software programmes and figure my way through the most complex menus and ways of working…
I couldn’t edit a planar UV on a NURBs item so converted all of the model into polygons, but the tools just weren’t showing me what i expected to see in the UV editor port.
I decided to give myself a break, download the example files from Lynda and come back in an hour…
Logically working my way through the fish example, I took notice of what the information and assets panel was telling me I was working on, and I realised that when I converted the NURBs it had left the original in exactly the same place, I had two models overlaying each other, so when i was selecting it, I had both bits, being careful i unpicked the polygon model from the original NURB and then set about editing my UV map, at last I could see what I expected to in the UV port and actually got somewhere with my model..
I won’t let the software beat me!!
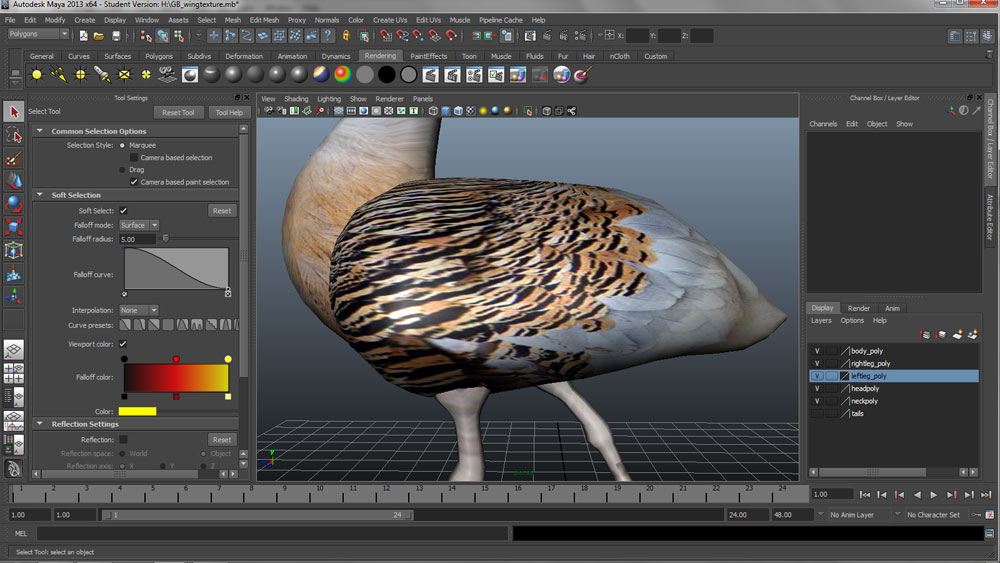
Close up of UV mapping in MAYA
This side close up shows the best bit of my UV mapping, really pleased with how it fitted in the end, and a big thanks to Leigh who helped me work through the finer points of UV mapping, including how to take a snapshot of the UV map so I can take this into photoshop to work my original map more intelligently.. looking at the finished placement, before it even gets there! note to self, right click on the word ‘transparency’ to delete the link if the image appears slightly translucent.
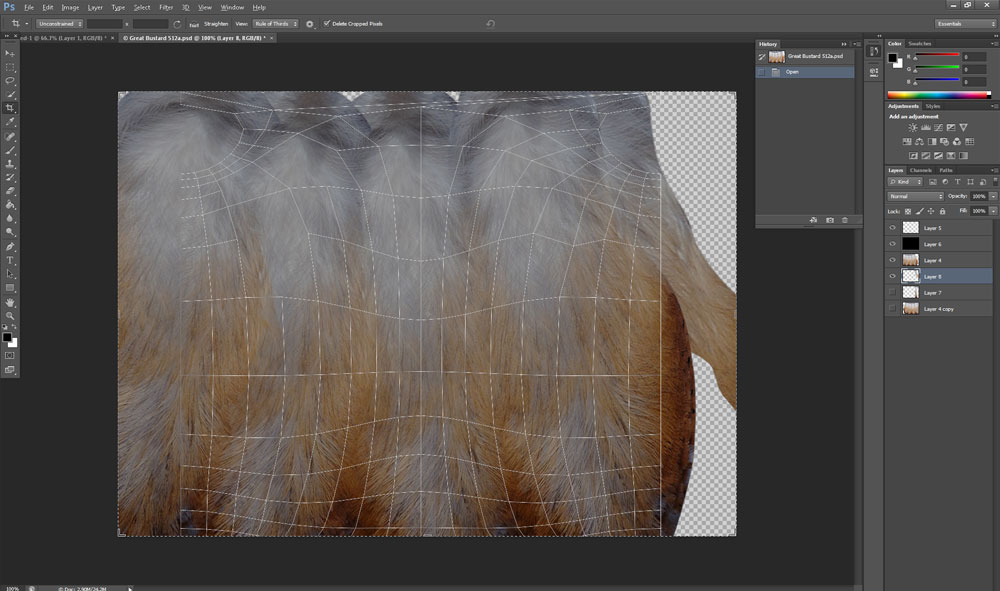
Image shows UV map in photoshop.
This image shows the mesh created from a spherically mapped UV.
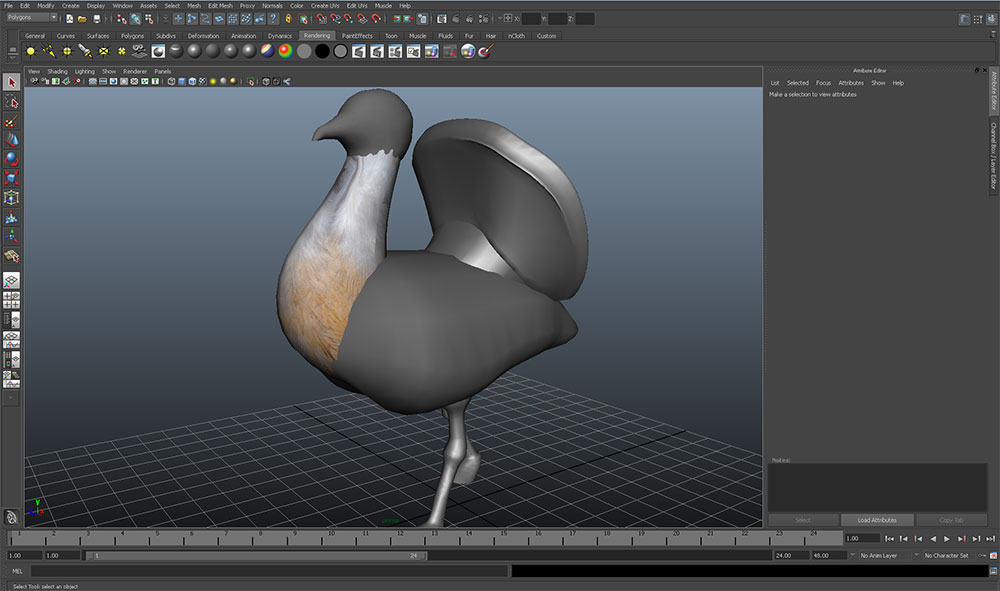
The mesh applied to the neck in MAYA
After reworking the mesh, it fits onto the neck piece with much less fiddling with.
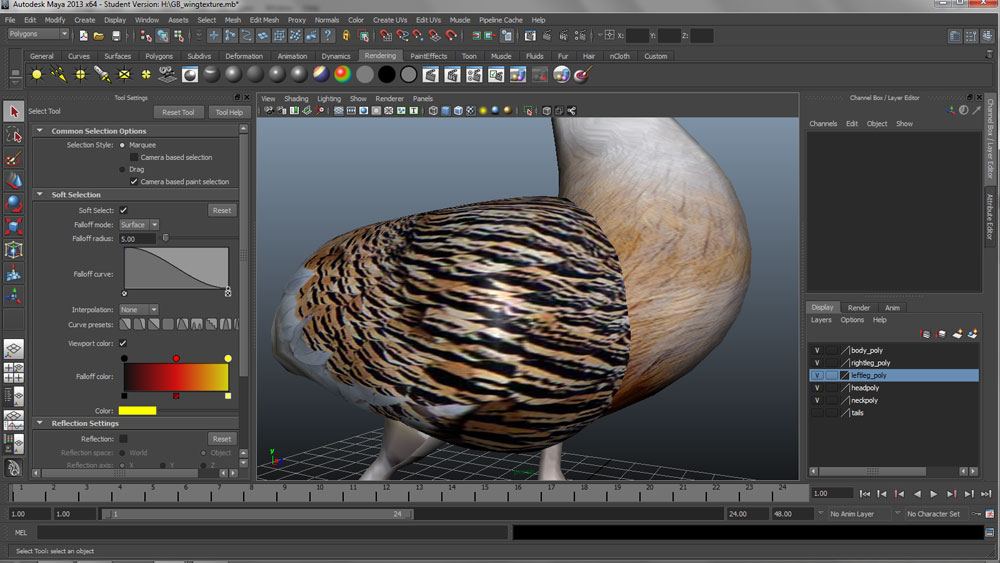
Close up of left side of UV mapping in MAYA
On this left side close-up you can see how the shininess of the material in Maya makes the UV mapped image less believable… I’m sure there is a way of knocking this shine back and perhaps using a bump map to add a small amount of texture to the model’s body.

Definitely need to work on that eye!
I quickly put in an image of the bustard head, but stupidly forgot to make it a mirror image, so this is the UV map trying to make a one eyed bird… I will go back to this, but I feel my priority should be animating it now I have a loose grasp of the UV mapping process…
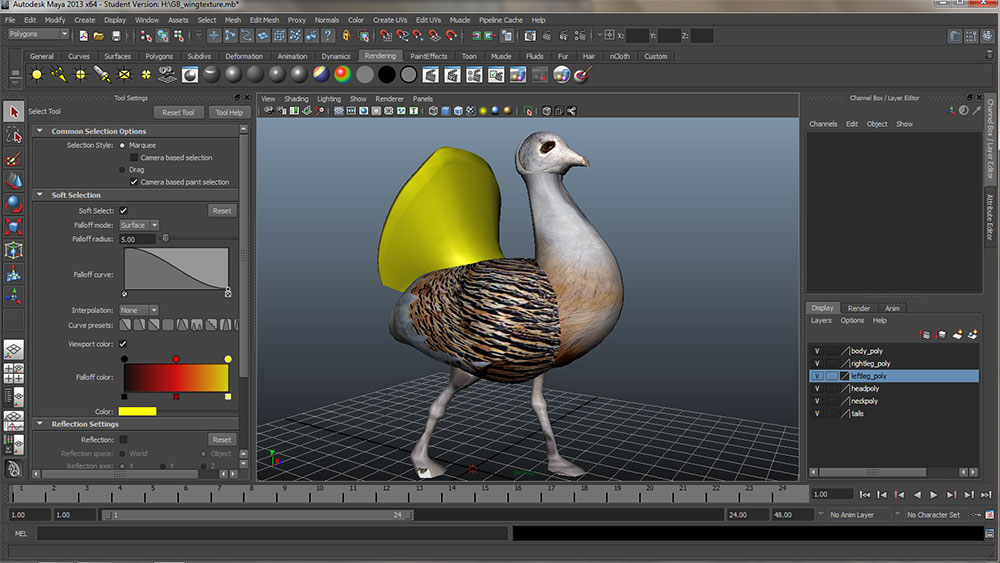
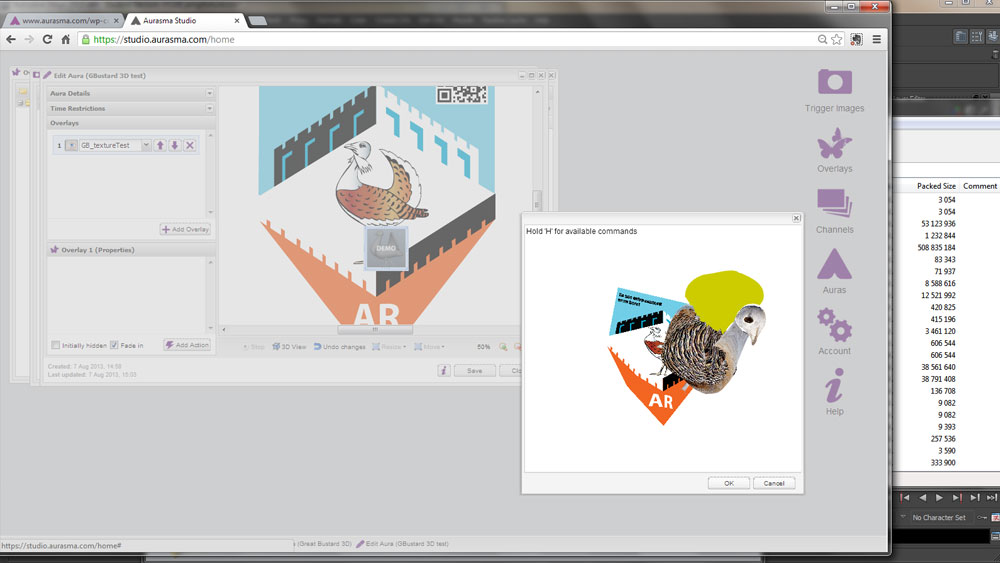
Just to see how it would come out I coloured the tail a block yellow so I could see what happened to it after being exported, compressed and uploaded onto Aurasma… In the Aurasma studio it did look very similar to how it appears here, but, when you view the live Aura, most of the mapping is lost, but I think this is mostly to do with the lighting, or that’s what I’m hoping.
Now all I need to do is animate it…

Leave a comment